Jadu CXM Integration
What is Jadu CXM?
Jadu CXM is a cloud based solution for creating and managing customer conversations. CXM provides a seamless, intuitive and consistent experience for your services teams and customers. CXM enables your teams to resolve customer cases through conversation and messages between your back office systems and service providers, keeping customers informed with case updates in real time.
What are the benefits of integrating XFP with Jadu CXM?
When integrated, customers can use XFP forms to create, edit and transition cases in CXM. It is also possible to register a user as part of the form submission.
Once a customer has one or more cases in CXM, their 'My Account' page will show these cases, and will allow the user to view them in CXM.
Integrating your first form with CXM - Creating a case
Step One: Enabling CXM Integration
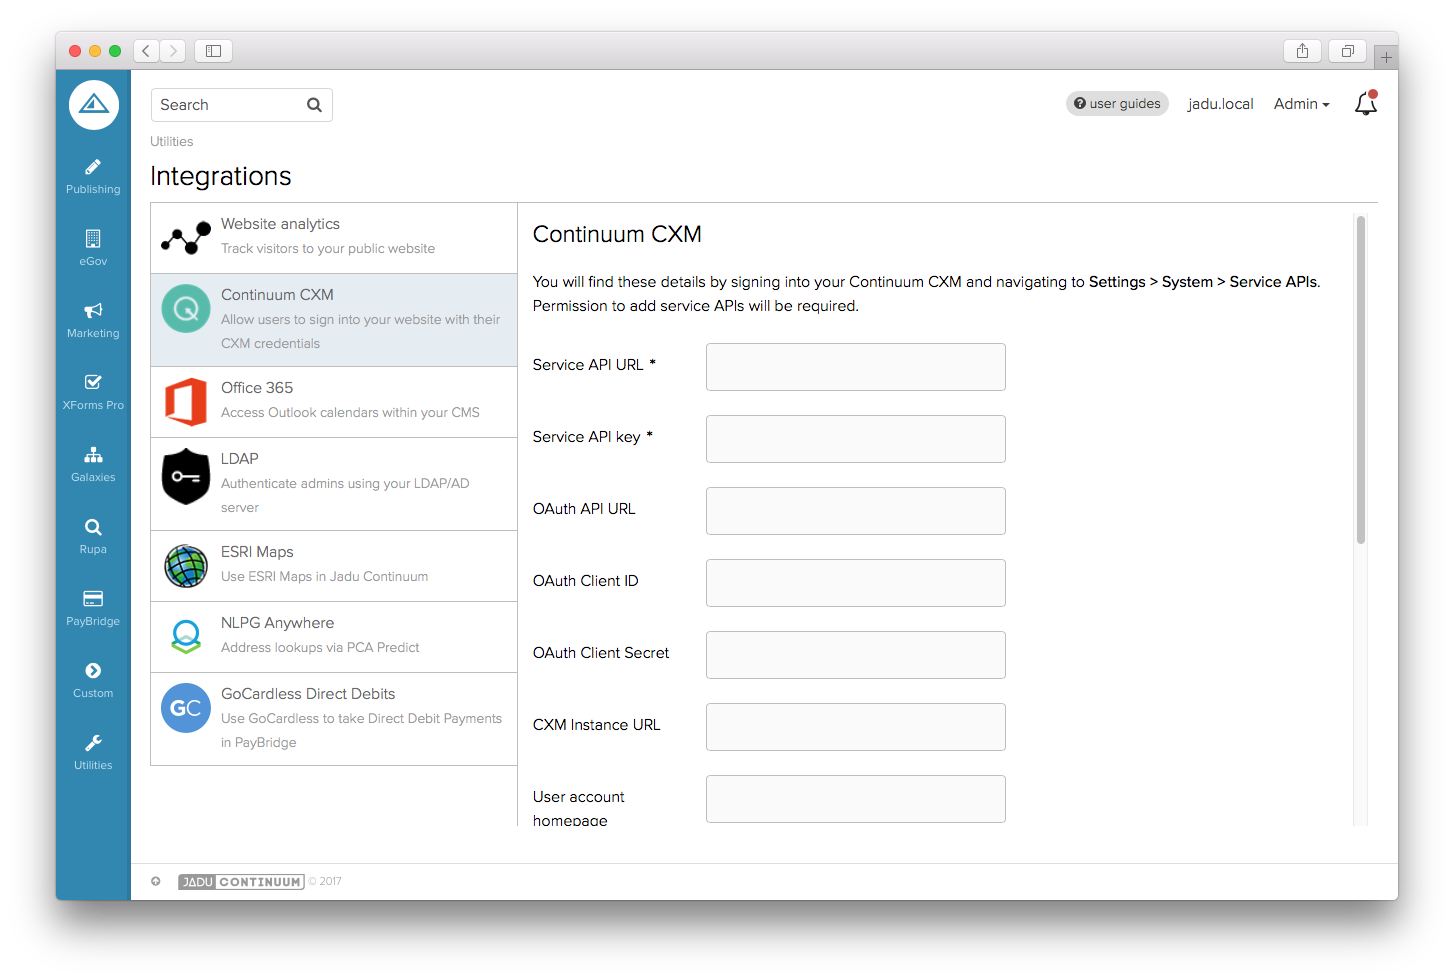
Integration with CXM can be enabled by visiting the Integration page, under 'Utilities' > 'Integrations'. XFP requires the Service API Key and Service API URL fields to be correctly populated, but you may wish to complete the other fields to integrate the CMS more deeply. The details of the Service API can be found in the Control Centre of CXM. Once the fields are complete, click 'Save'.
Step Two: Enabling the CXM Action
To enable the CXM Action on a specific form, go to its 'Actions' tab. There, tick the checkbox next to 'Jadu CXM' and click 'Save Actions'.
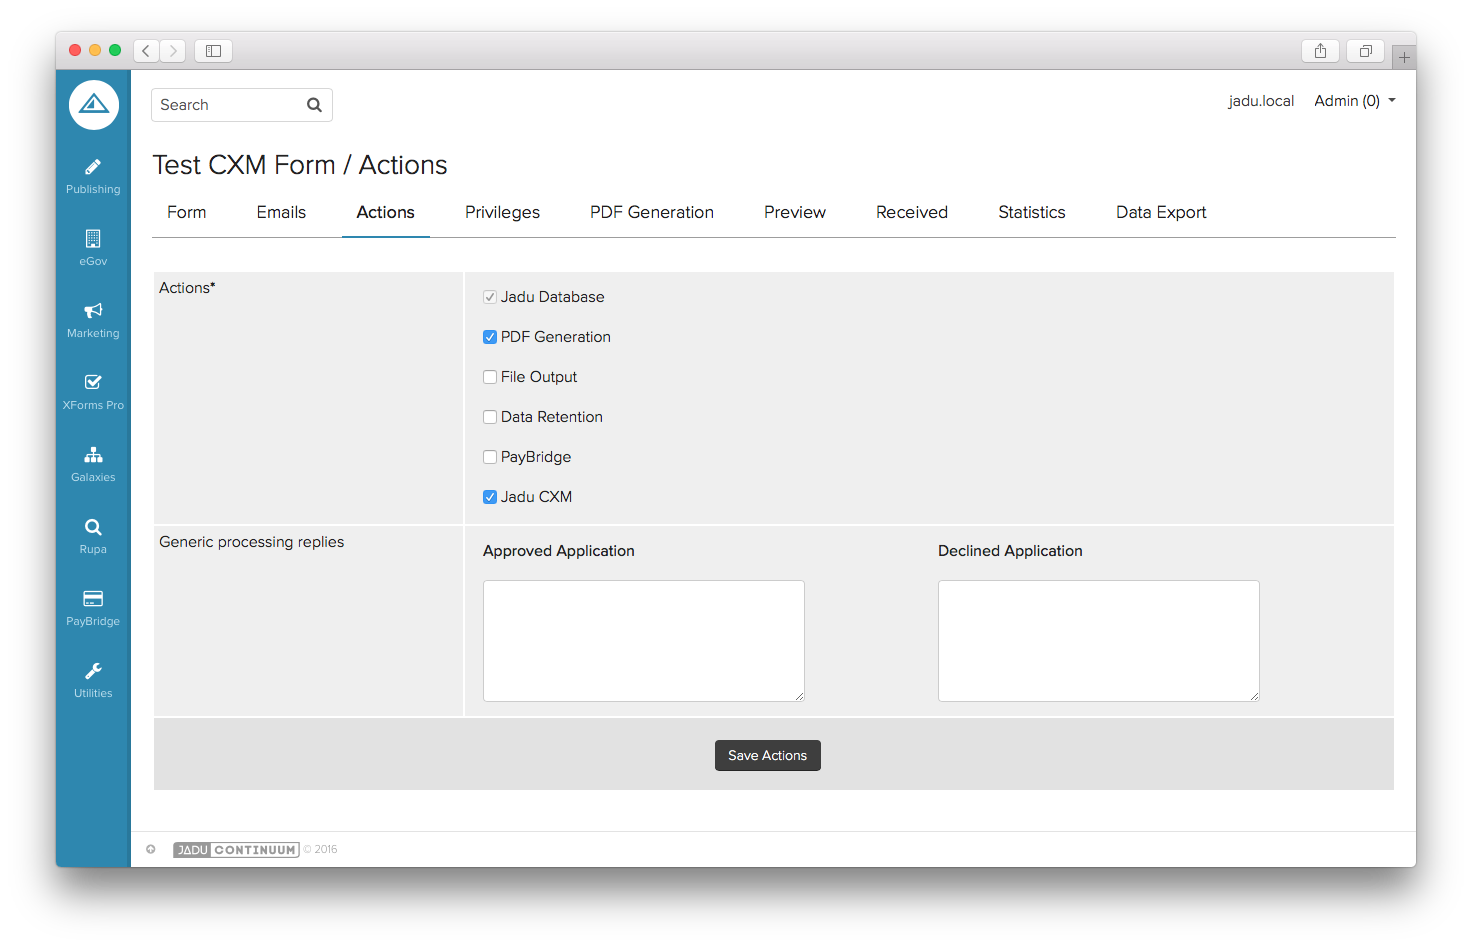
A success message will appear, and the 'Jadu CXM' tab will also be visible.
Step Three: Creating CXM Templates
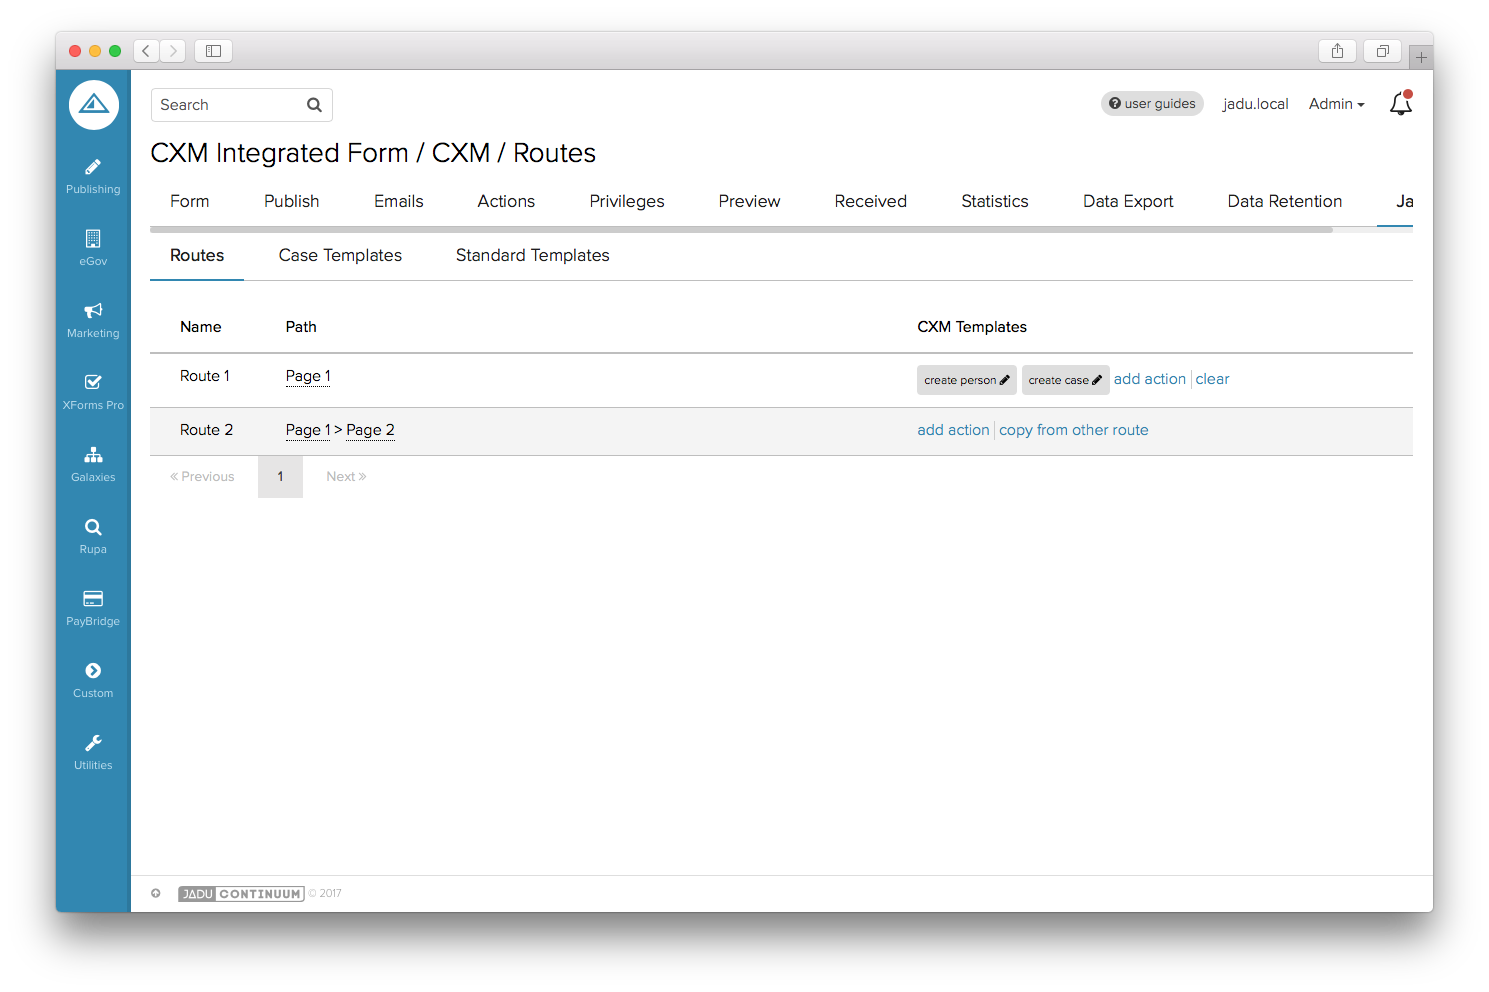
Now the CXM Action is enabled, it is possible to configure the communication with CXM for this form. To do this, click on the 'Jadu CXM' tab. This will open at the 'Routes' list view, which shows all of the routes through the form.
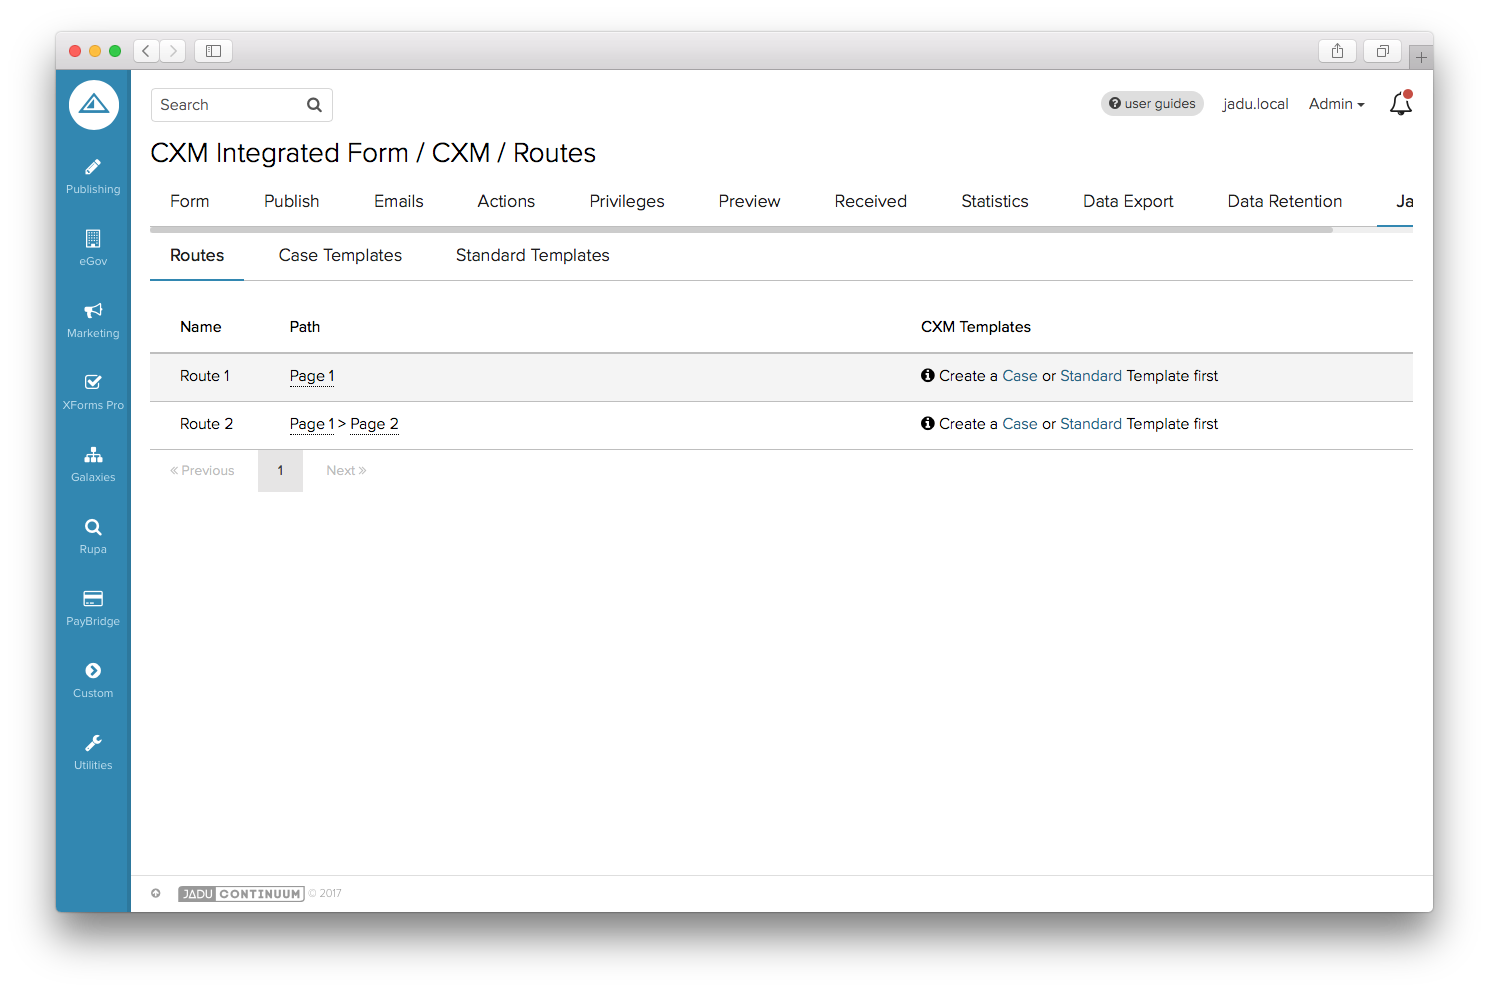
Each route has a message asking us to create a 'Standard' or 'Case' template, as we currently do not have any templates to assign. A template determines the data we send to CXM when the form is submitted. It is possible to action multiple templates on form submission, and it is also possible to use returned data from a previous template when actioning a later one. Click 'Standard' on the first route to open up the Standard Template designer.

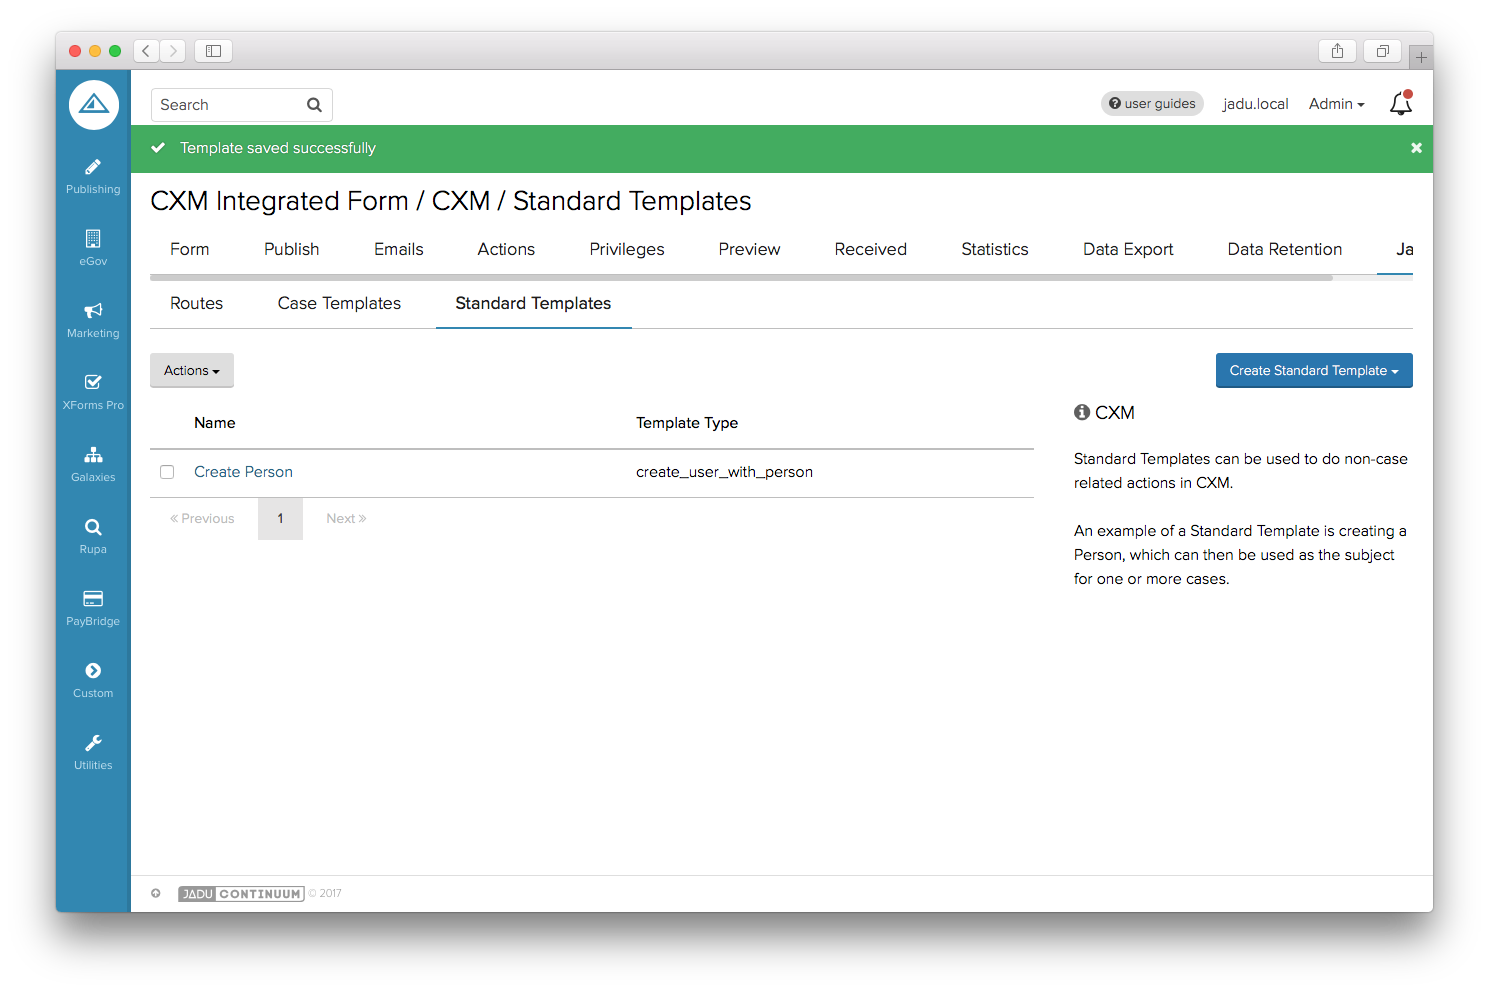
Standard Templates are useful for doing actions in CXM that are unrelated to a case, for example registering a user or person. Complete the fields in this template by mapping questions, form variables or manual text to all necessary fields, and providing a template title. Click 'Save'. If all fields were completed correctly, you should see the 'Standard Templates' list view, along with a success message. You now have a 'Create Person' template, which can be assigned to one or more routes of the form.
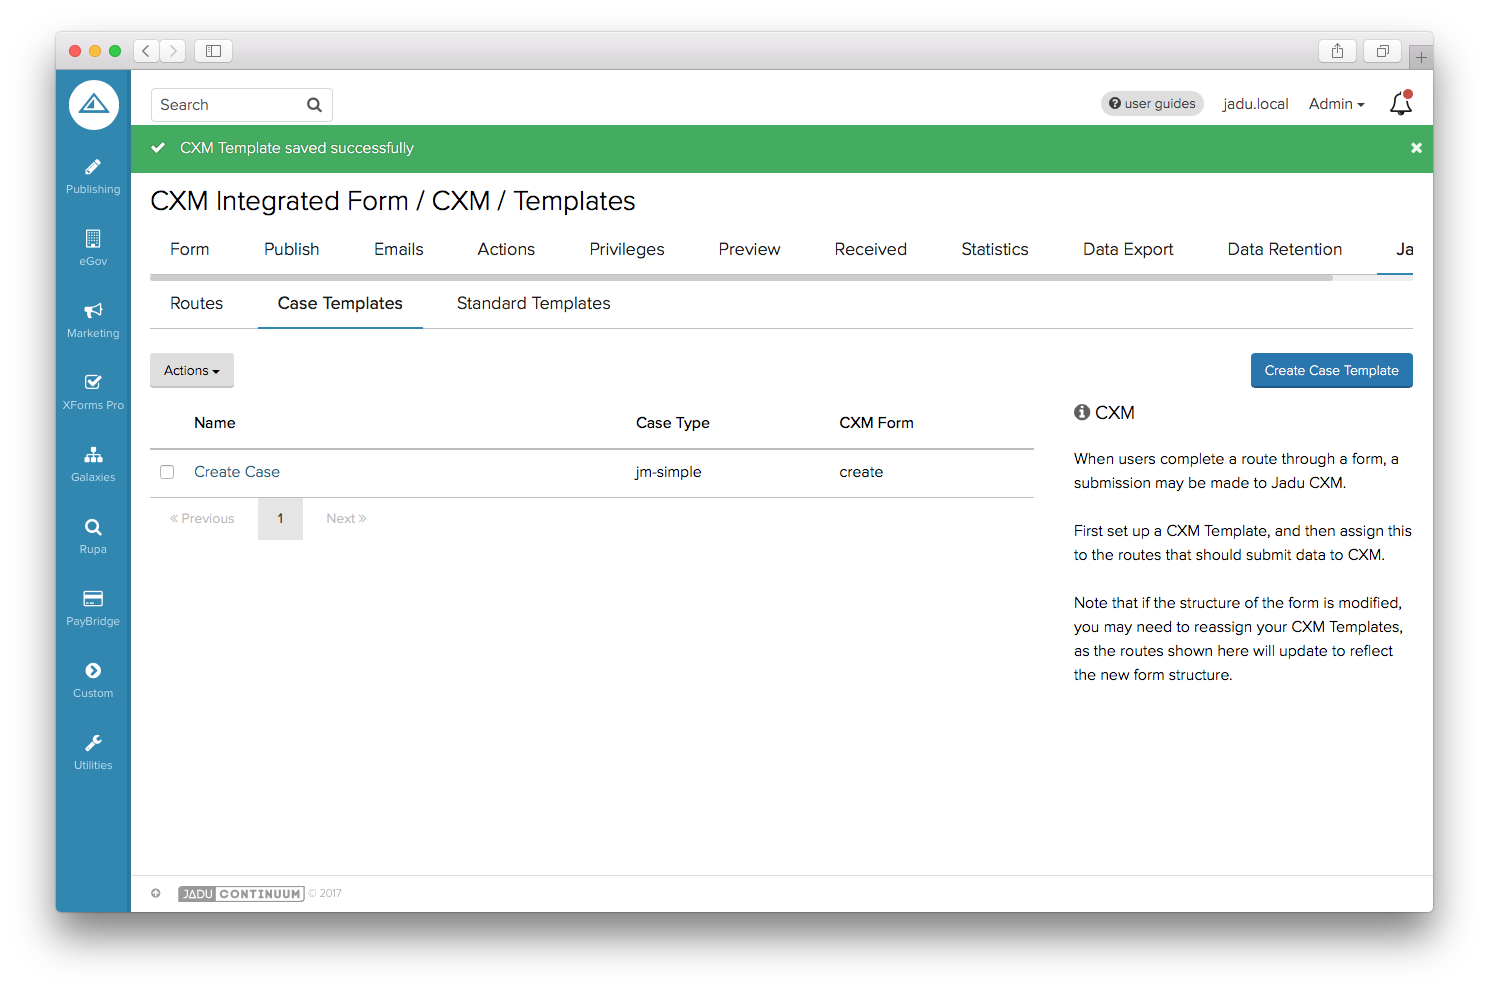
Click the 'Case Templates' tab to go to the 'Case Templates' list view.
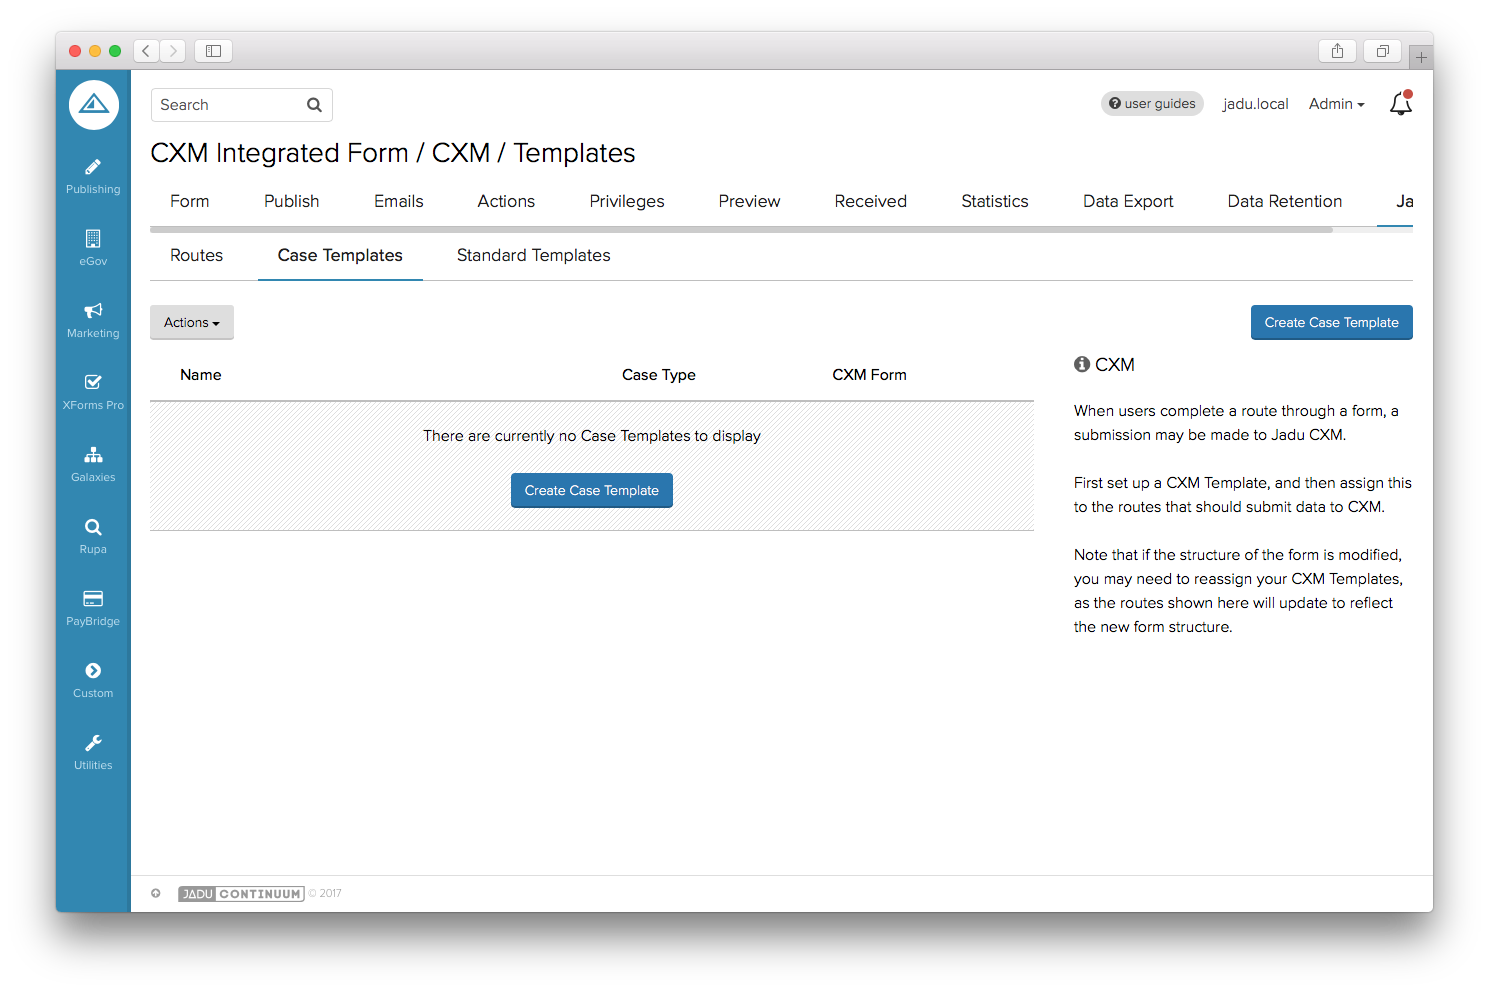
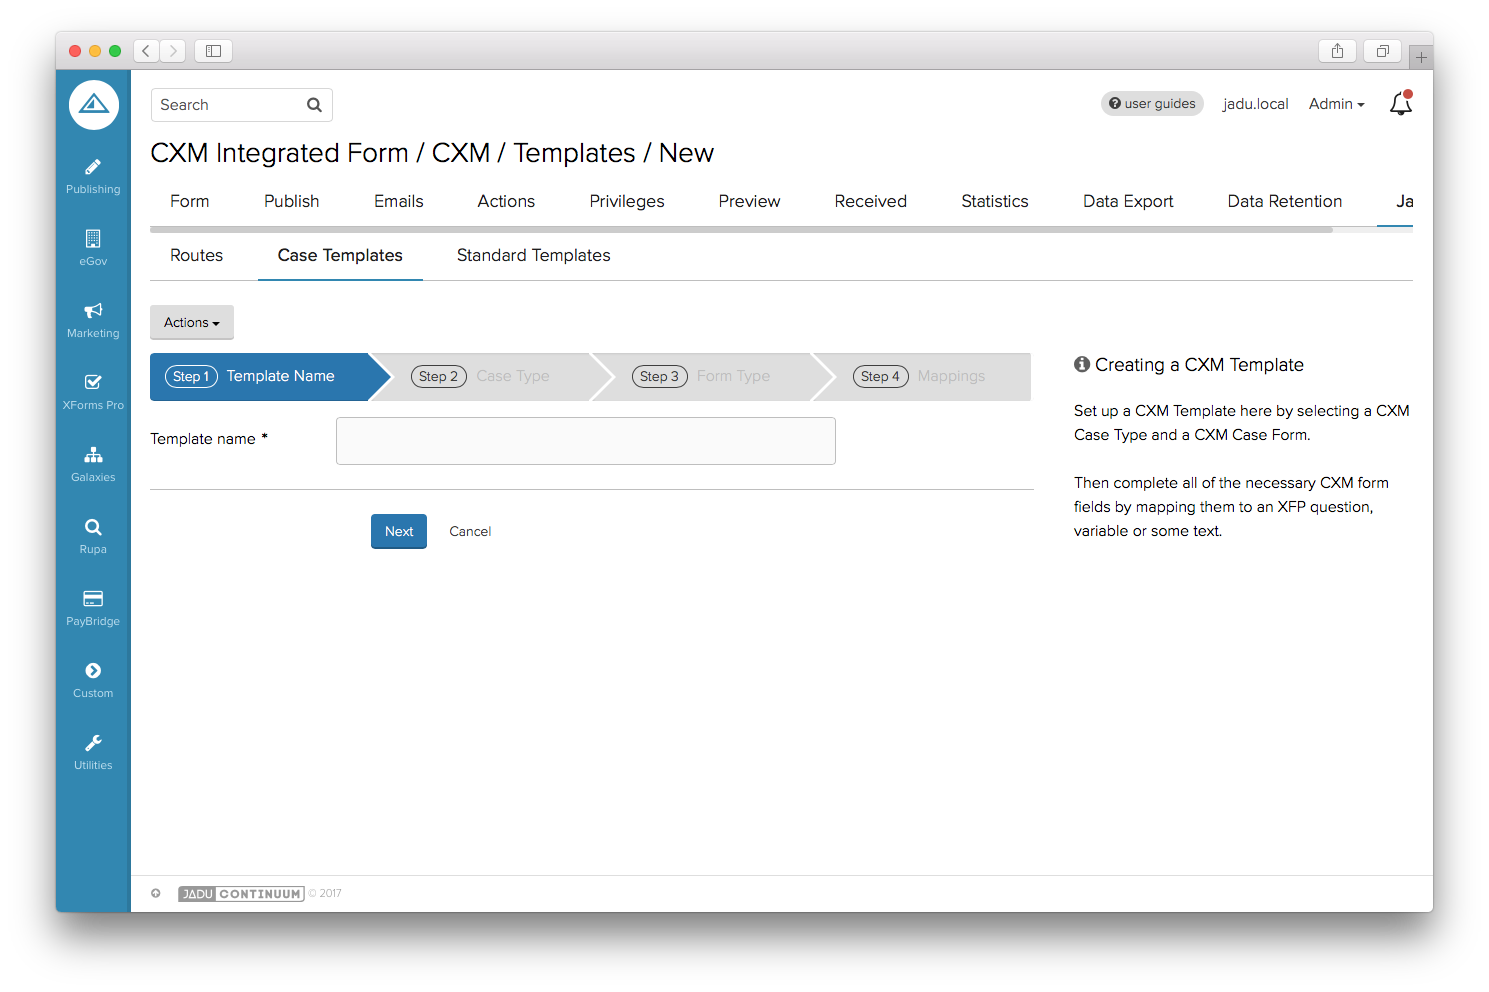
To add a CXM Template, click 'Create Case Template'. This will open the Case Template Designer interface. First, you'll need to provide a title for your template.
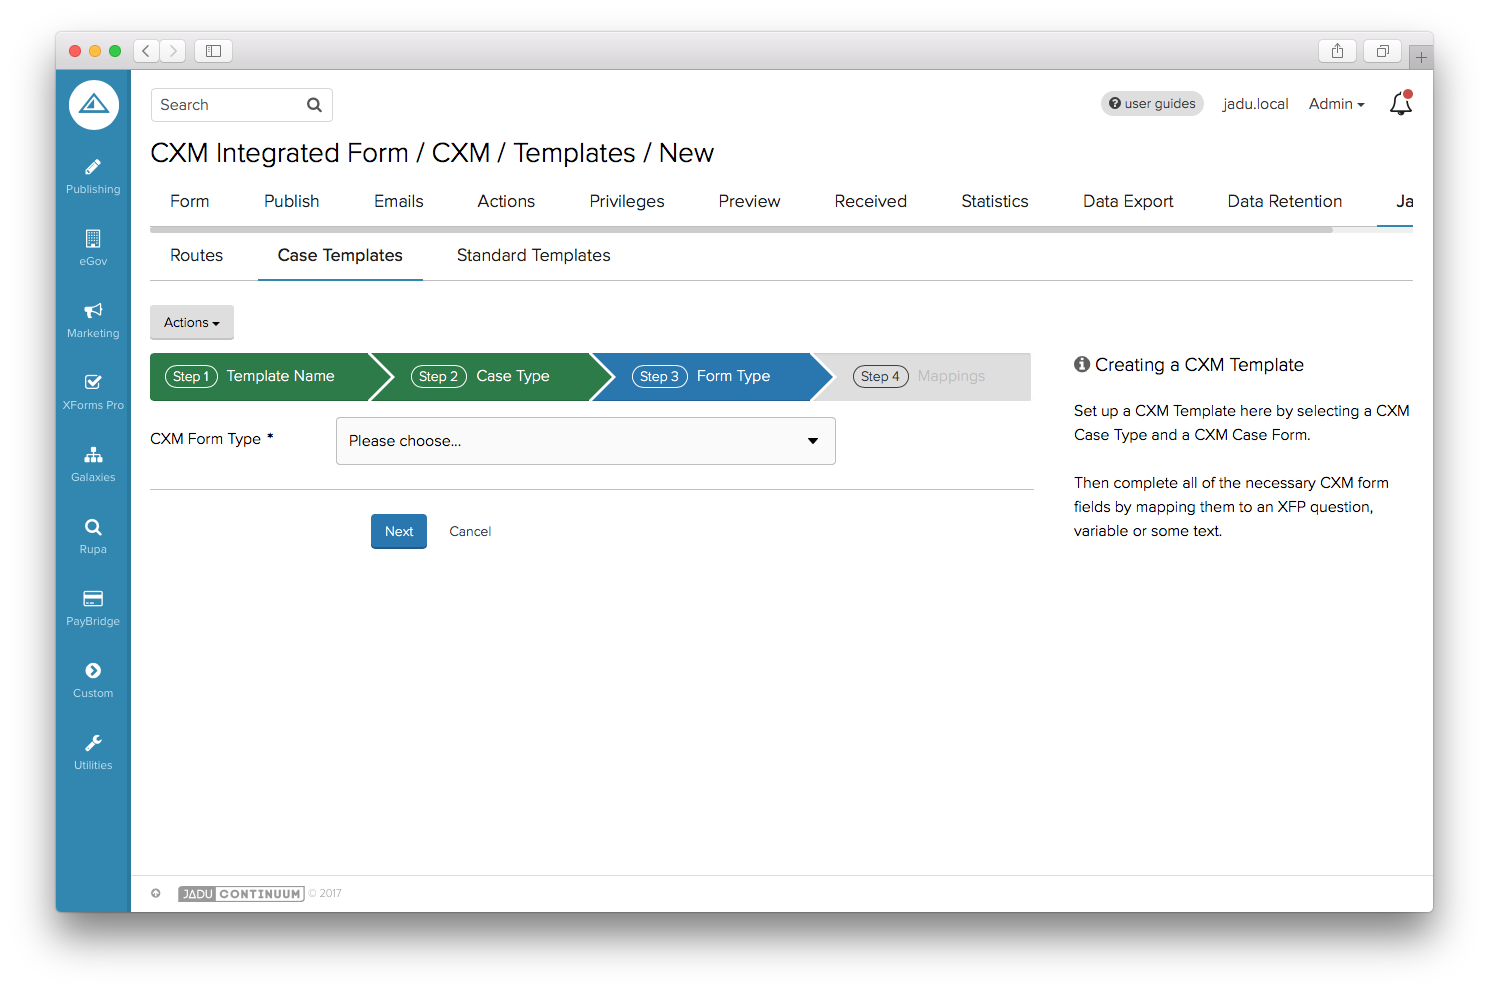
Next, select the Case Type the template should use.
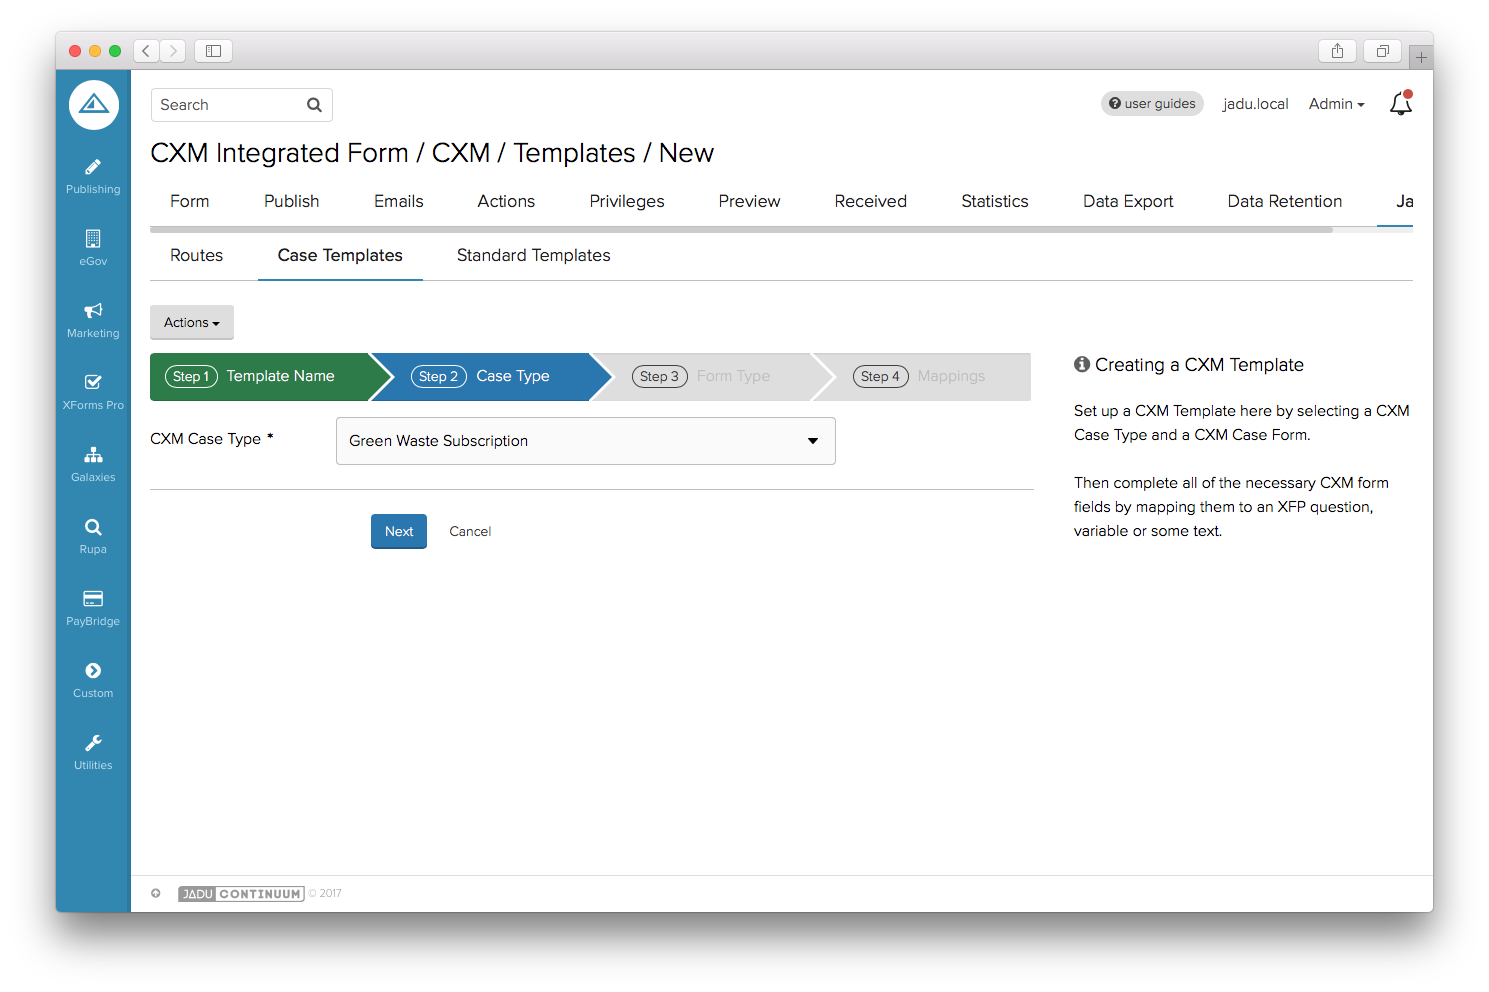
XFP will then contact CXM to get all possible actions available, and these will appear in a drop down. Choose an action, and click 'Next'.
The final step in creating a template is to map data into the fields that the API request requires. Mapped data can either be standard form variables, such as 'Form - Title', an answer to a form question or some manual text. If configured, service request types can also be used.
All required fields must be have data mapped, i.e. these cannot be 'Not Set'.
NOTE Some fields in the mappings may have help text detailing the case-sensitive valid values. If manual text or a service request type is provided for such a mapping, and the value is not valid, the field will be flagged with an error when the mappings are saved. Alternatively, if the field is mapped to a question or standard form variable, the CXM request may fail when submitting the form if one of the valid values is not provided.
To denote that a field should be mapped to a value returned from actioning another template, tick 'Use a value from a preivous CXM action'.
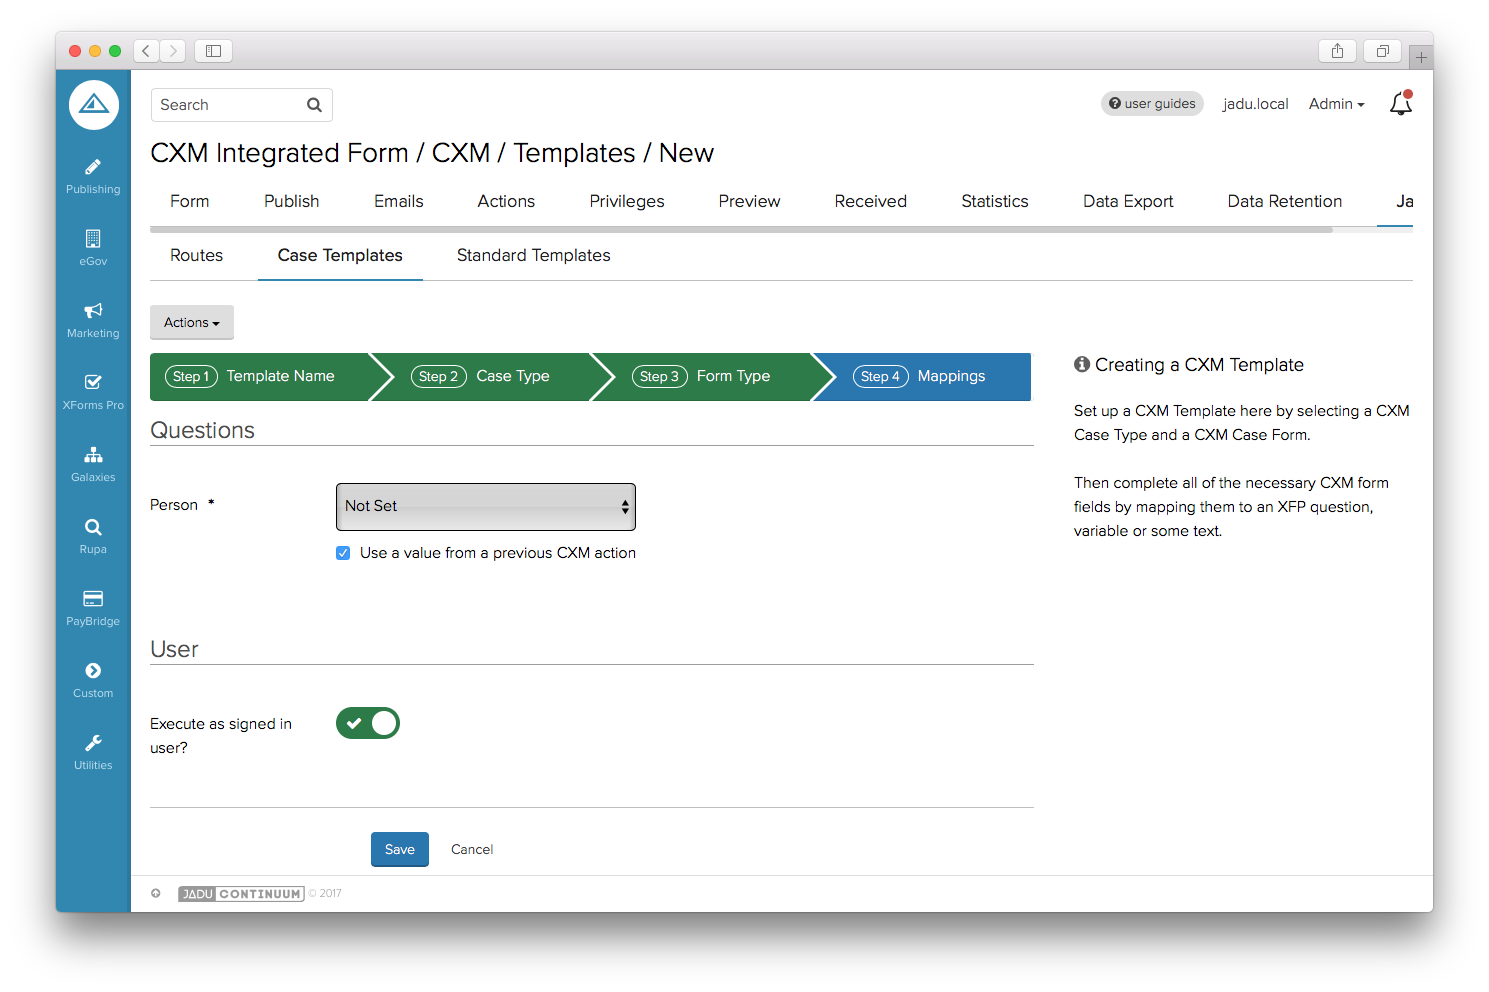
Once all mappings are correct, click 'Save'. The template will appear in the list view, and a success message will be displayed.
Step Four: Assigning the CXM Template
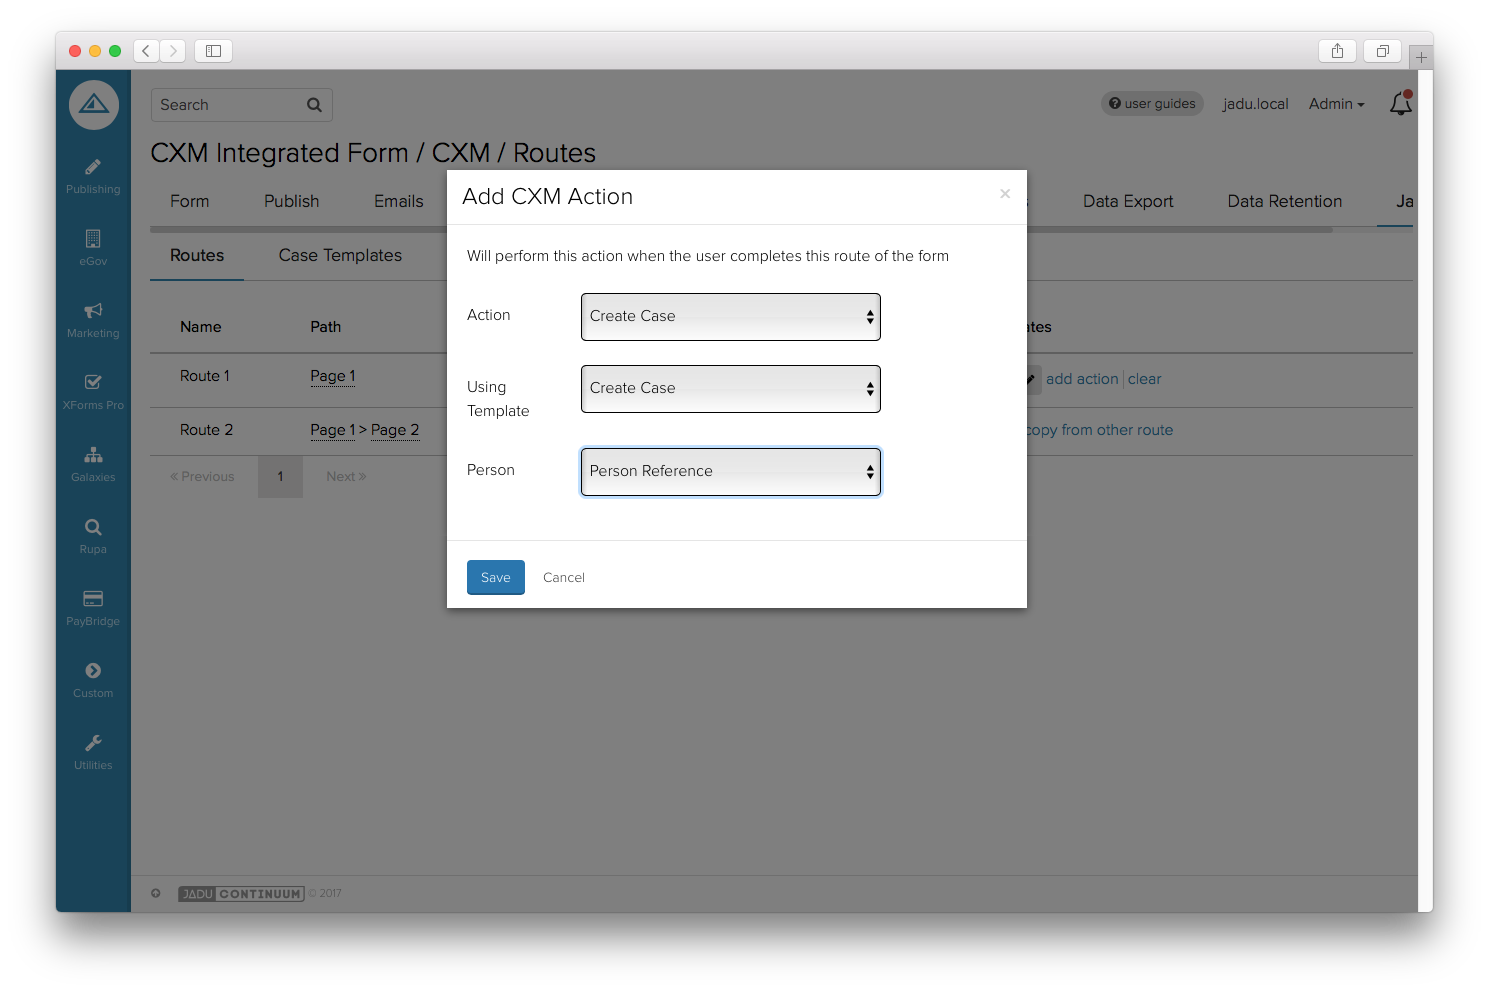
Now there are two templates for this form, they can be assigned to one or more form routes. To do this, return to the 'Routes' sub-tab. Click 'add route'. A popup will open, to allow us to select the template to assign. Set the 'Action' as 'Create Case', and then choose the 'Create Case' template from the next drop down. Notice that an error is displayed - it is not possible to add this template as the first one for the route, as we do not have a value to populate the field that expects a value from a previous template.
Instead, set the 'Action' as 'Create Person', and then choose the 'Create Person' template.
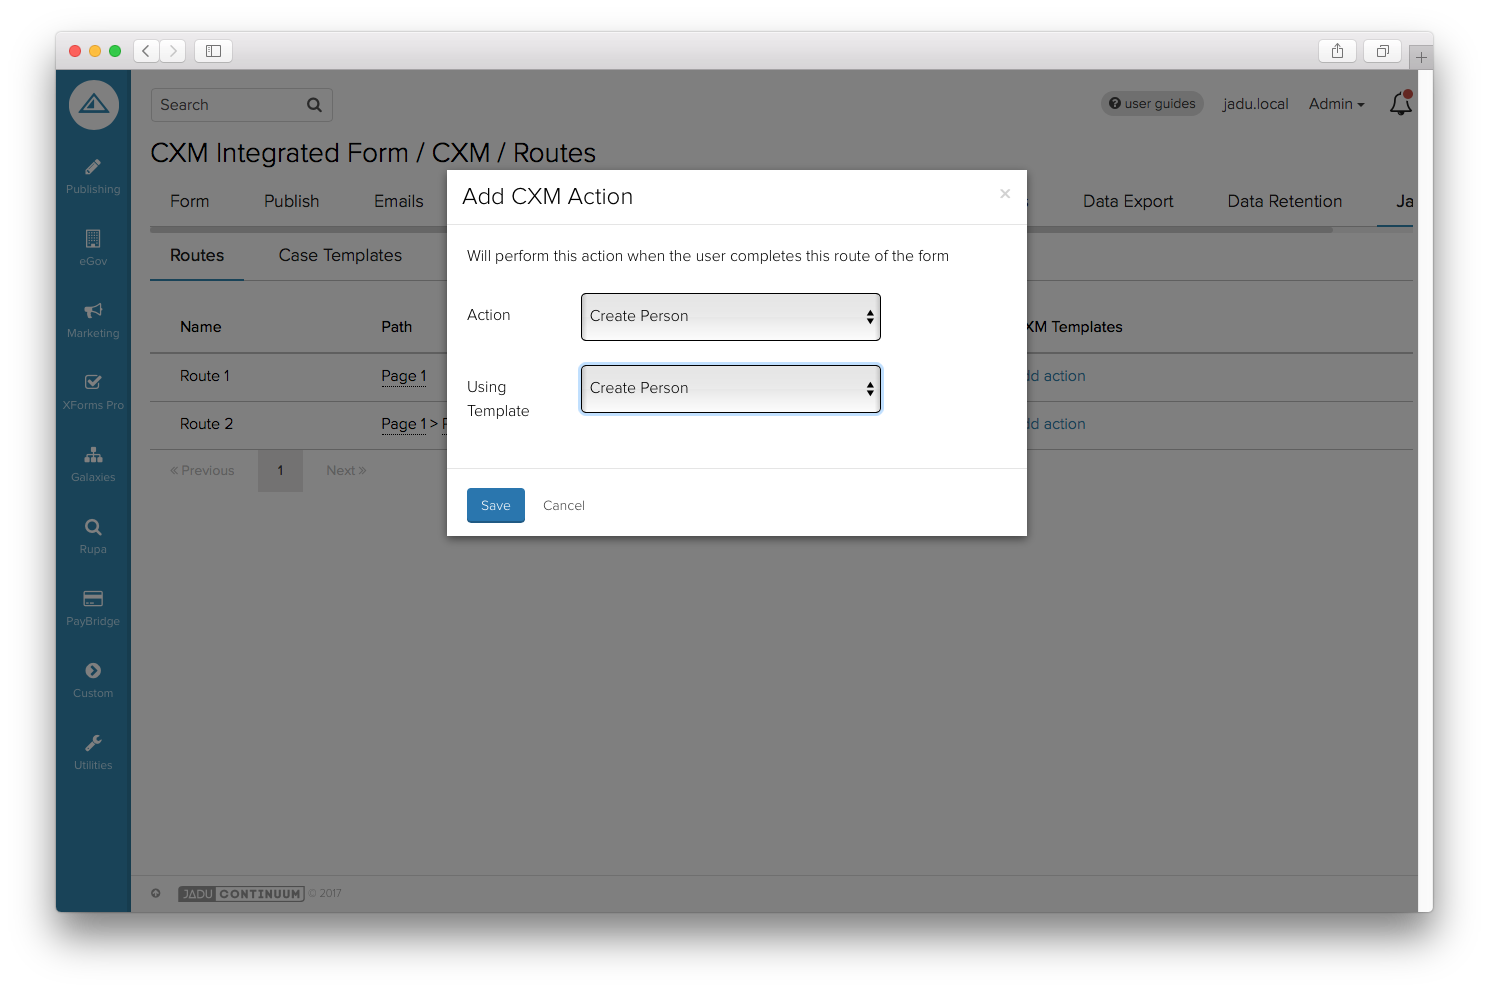
Click 'Save' - the template will be added to the route, and can be edited by clicking on it.
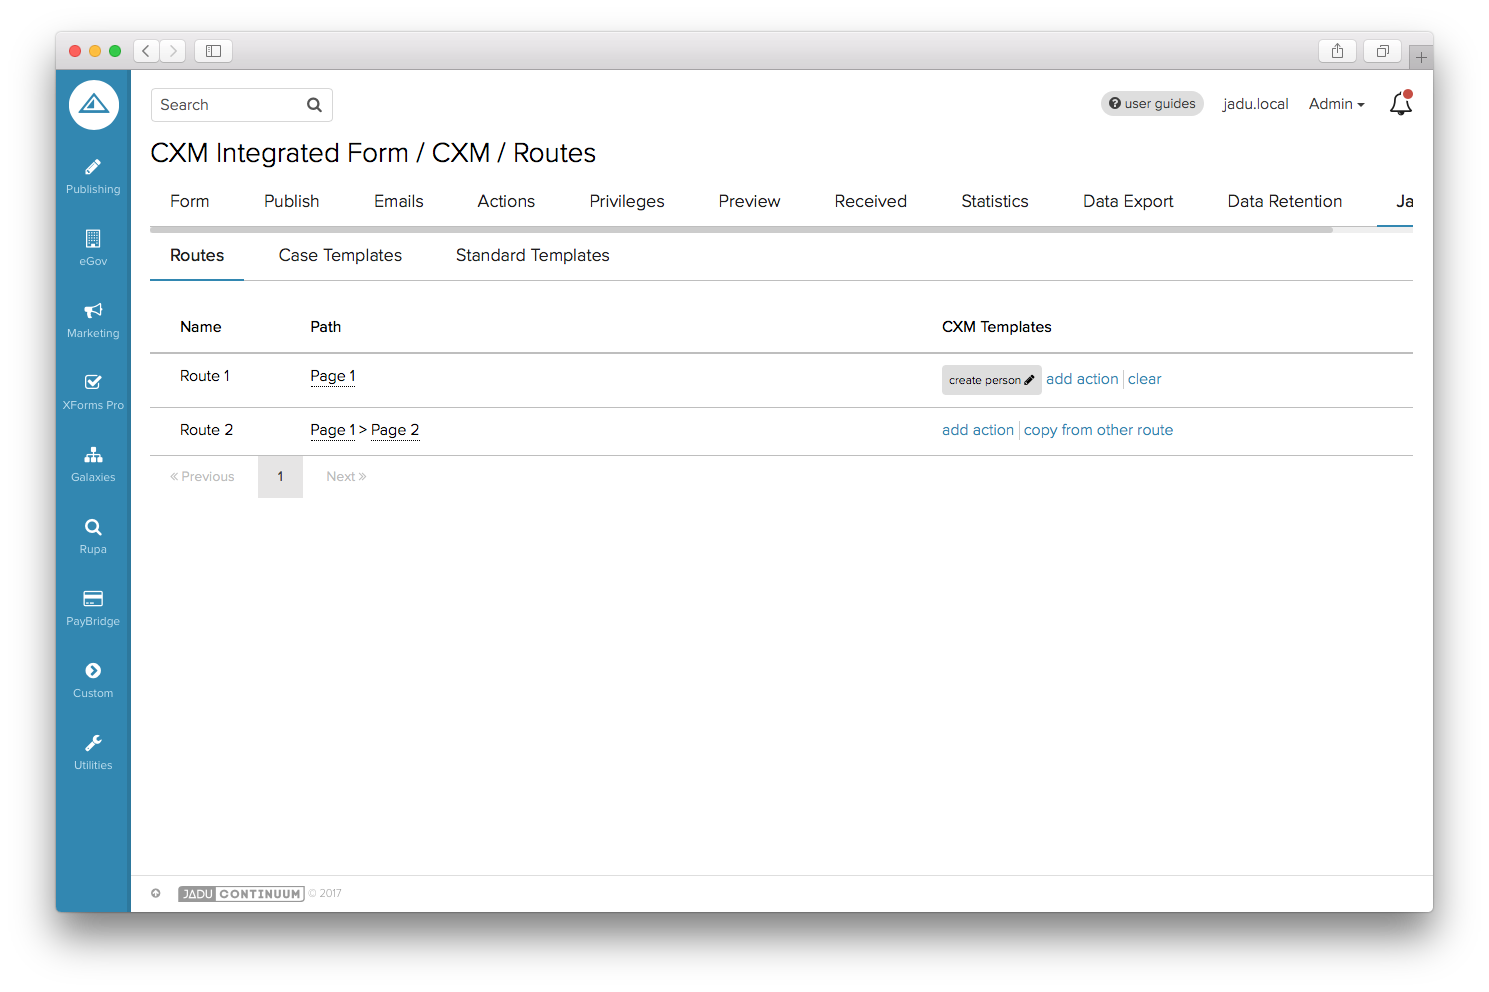
Click 'add action' on the same route. Set the 'Action' as 'Create Case', and then choose the 'Create Case' template - this time no error is displayed. A new drop down will appear so it is possible to map the field that expects a previous action's returned value. Select 'Person Reference' from the 'Create Person' template.
Click 'Save' - the template will be added to the route, and can be edited by clicking on it.
When we complete this route through the form, a user will be reigstered with CXM, with an attached Person record. The details of the Person will be provided by the XFP fields according to the mappings. The returned Person reference will then be passed as an input to the specifiec field in the Create Case request.
NOTE Any change in the structure of the form may cause mappings of templates to routes to be lost. After any such changes, CXM assignments should be checked before making the form live.
CXM Case Link Variables
XFP provides two form variables, 'Internel CXM Case Link' and 'Front-end CXM Case Link'. When used on the complete page of internal forms, a link will be output, which will open the CXM timeline of the corresponding case in a new window.
NOTE These variables work on internal forms and front-end forms respectively. They will be blank when used elsewhere.
Edit Case & Transitions
As well as creating a case, XFP can also edit or transition an existing CXM case on form submission. In order to do this, choose 'Edit case' or one of the transitions when setting up a template (see figure CXM-08).
The process of creating a CXM Template for editing a case or a transition is very similar to when setting up a 'Create case' template. The fields that need mapping may differ, as editing or transitioning an existing case might require different information to creating a case.
Further to this, when setting up a template for editing or transitioning a case, a new mandatory field called 'Case reference' will be present in the mappings. This is the reference of the case to edit or transition in CXM. You may wish to map this to a 'CXM User Case' form component (see 'Getting a user's cases in an XForm'), or the 'Case Reference' value output from a previous CXM template.