PDF Generation
The PDF Generation tab provides an interface to enable form designers to configure PDF Form receipts upon form submission.
Upon entering the PDF Generation area, the interface displays all routes/possible end user journeys through the form, according to its Branching Rule settings. If this is a linear form (no Branching rules applied), then only a single route will be displayed. If you have introduced Branching Rules into your form’s structure, then multiple routes will be displayed.
Each route through the form can be used to deliver a different PDF form if appropriate. For Branched forms, a Master route option will also be displayed. The Master route allows you to create a general set of mappings for ease of application throughout forms with a large number of routes.
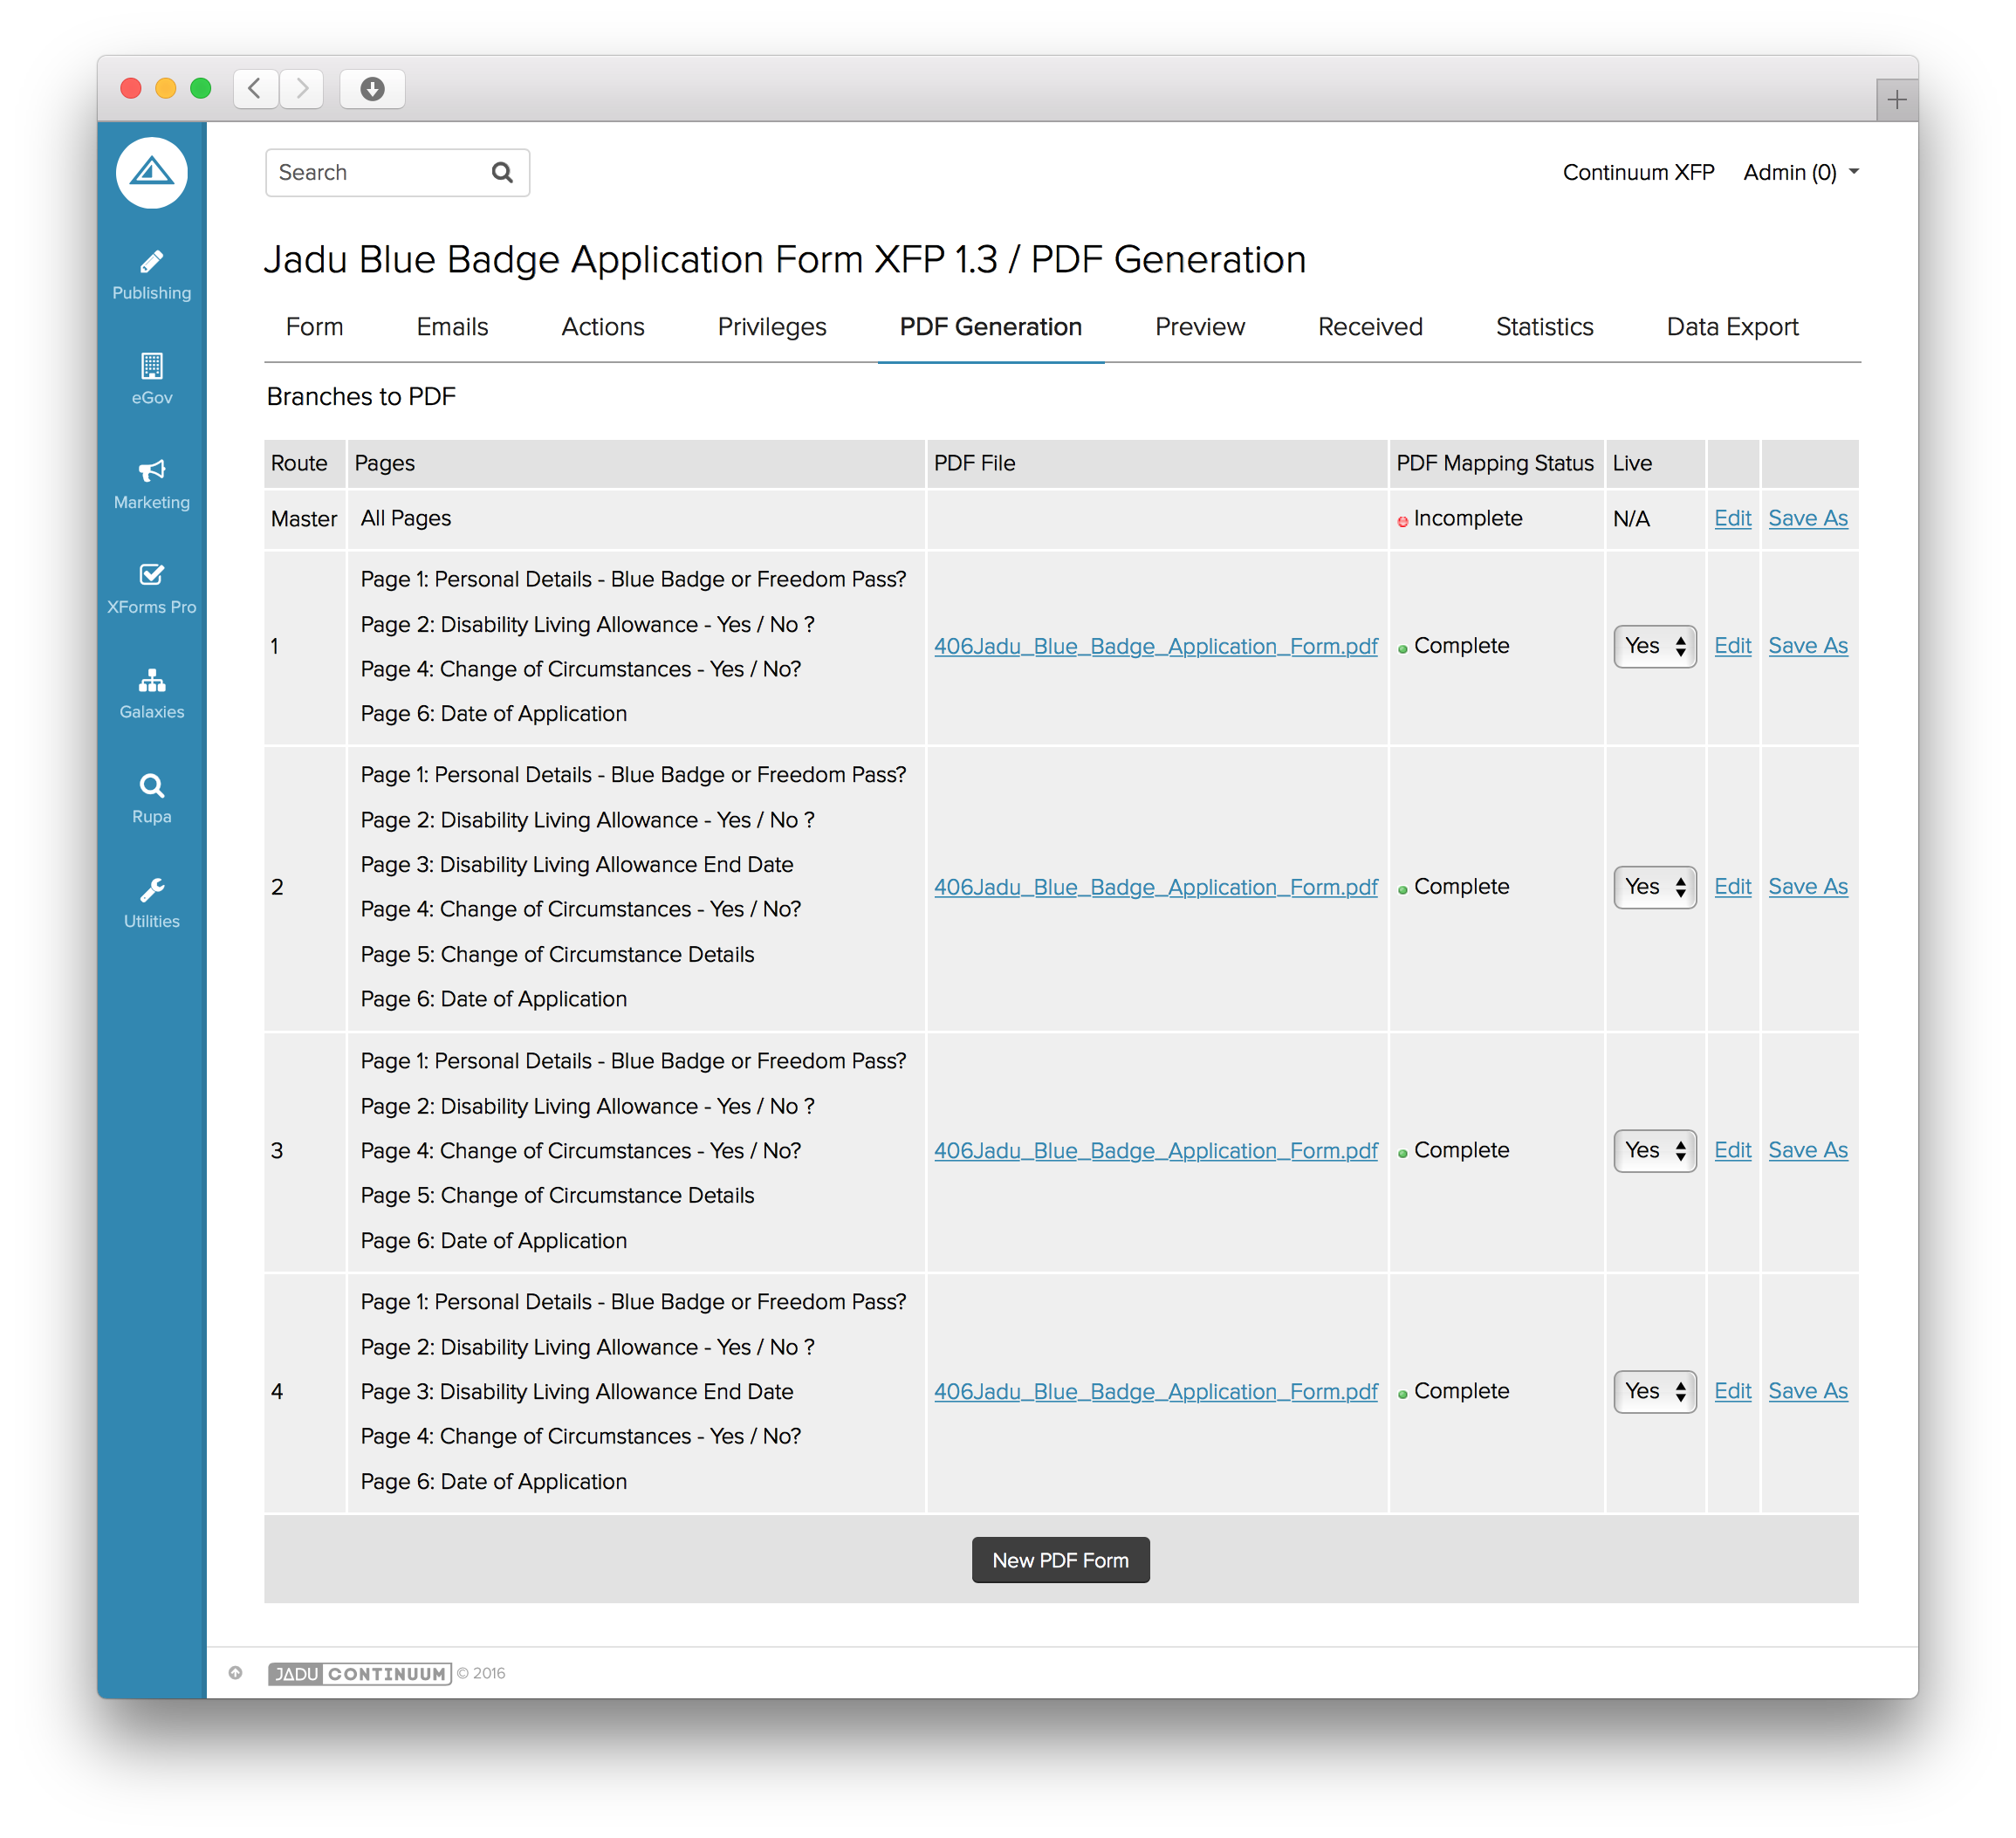
Viewing form routes for PDF Generation
The first step in the process to providing generated PDF receipts is to create a suitable PDF form using a tool such as Adobe® Acrobat® Professional. The full process for doing this lies outside the scope of this document, but in principle consists of taking an existing document, converting it to a basic PDF format (if it is not already), and adding PDF Form fields in the relevant locations where you expect to output the data within the outlying document.
Depending on your version of Acrobat® you can have some quick success setting up your PDF form by clicking either Convert An Existing Document, or Scan A Paper Form in the Getting Started window, or by opening an existing PDF and choosing Forms > Run Form Field Recognition or Create.
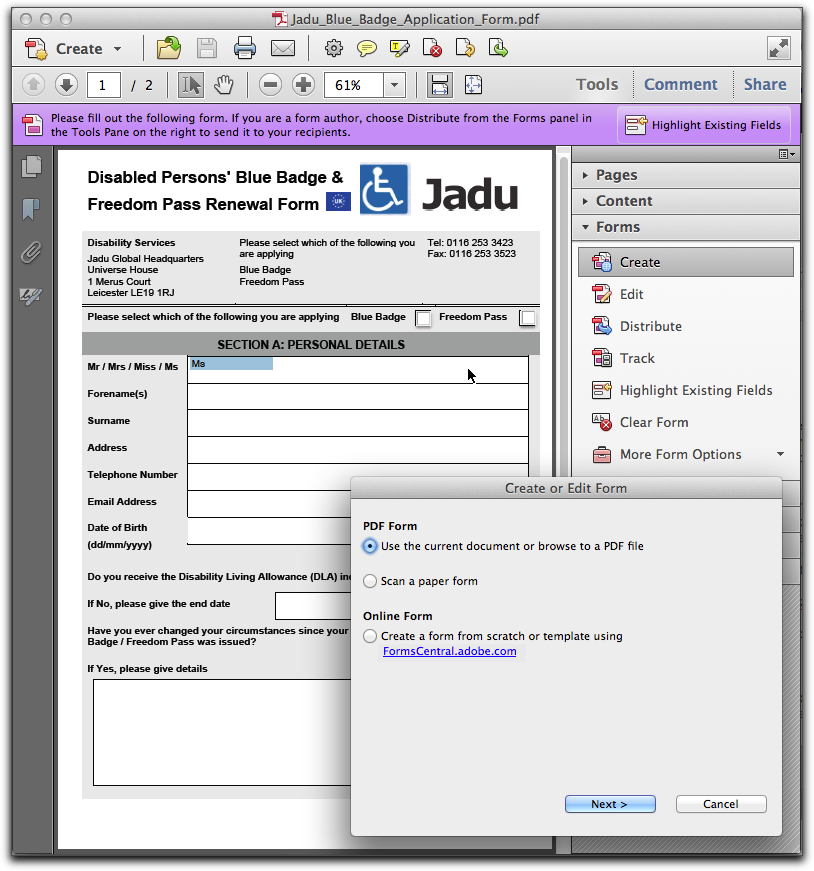
Acrobat® PDF Form preparation
In Acrobat® you add a form field by choosing one of the form tools, dragging it onto the relevant page of the PDF, before setting the size and location of the field, and giving it an appropriate name. Please name the fields in a logical manner (ideally similar names as those given to your Jadu XForms Questions) as this will assist in the mapping stages described later. For each field type, you can set a variety of options through the form field Properties dialog box such as appearance, font and so on.
After you create form fields, you may need to rearrange, resize, or move them to give the page a cleaner and more professional appearance. To make adjustments in the layout of form fields, you must be in editing mode (choose Forms > Edit Form In Acrobat or choose Tools > Advanced Editing > Select Object Tool).
Once your PDF Form is complete, you will need to upload it for the relevant form route. Do this simply by clicking the New PDF Form button at the bottom of the list of available form routes. You will then need to click Choose File and browse for the PDF Form file from your local device and select it.
The second option enables you to provide the PDF Form as a download alternative within the XFP front end interface, so that it can be manually completed, printed and sent back to your organization for manual processing.
You should then click the Save PDF Form button and the PDF Form will be uploaded to your Jadu XFP system for processing.
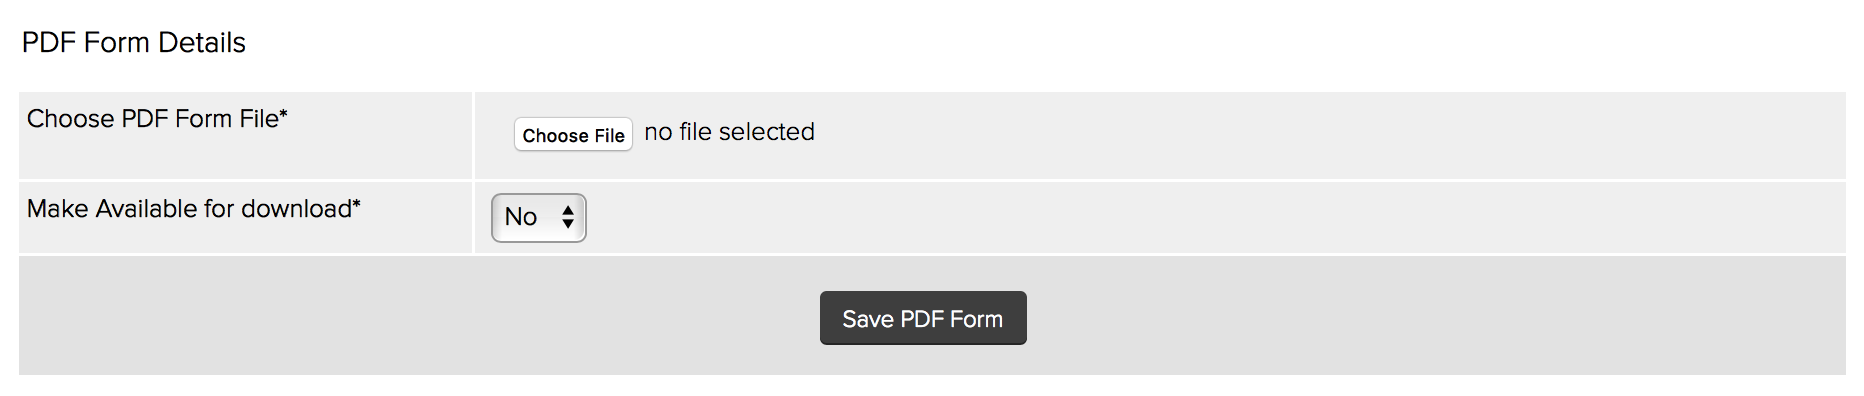
Uploading a new PDF Form
As part of the import routine, all of the PDF Form fields are extracted from the PDF Form by Jadu and displayed so that the forms designer can step through each PDF form field in turn and map it to a corresponding value/variable. This is the data that will be embedded within the PDF Form template and delivered to the end user. Some basic data manipulation functions exist to allow you to pre-format the expected data value before it is embedded within the PDF.
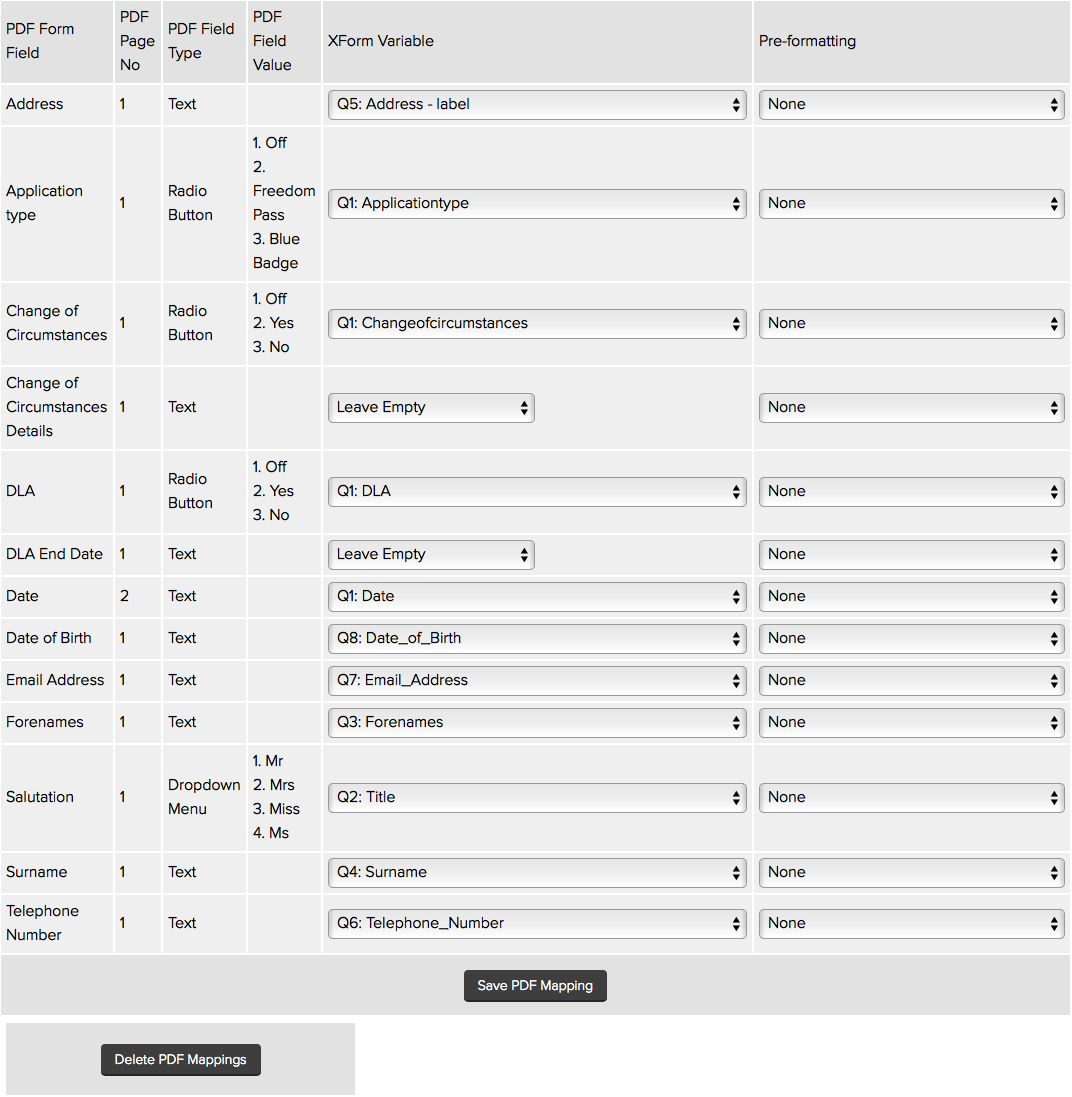
Editing the PDF Form mappings
To map a PDF Form field, simply click the dropdown menu that states Please Choose ... within the XForm Variable column, at which point a series of initial options will be displayed to you.
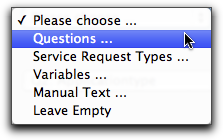
Initial PDF Form variable mapping options
- Clicking Questions allows the responses to any questions asked to the user during their form (taking into consideration the route through the form that they will have taken) to be placed within this field.
- Clicking Variables allows known system values to be placed within this field, examples of which are the Form reference number, the date/time the form was started or completed by the user, their IP address, etc.
- Clicking Manual Text allows the form administrator to enter what will be static text within this field e.g. N/A.
- Clicking Leave Empty will essentially disregard the field and leave it in its default state.
If the field being mapped is of type Text, then you can choose to apply a Pre-formatting function to the output. Pre-formatting functions manipulate the value of the output by applying a function to the value. For more information about pre-formatting functions, refer File Output action section of this document.
Once all fields have been successfully mapped, click Save PDF Mapping to save all mappings for this route. This route’s mappings can then be made Live.
Note: The Master route cannot be made live as it has no relationship to an actual user journey.
This process should then be completed for all routes that you plan to provide PDF Form receipts for. If you have more than one route through the form, there will be a Save As link that corresponds with each route, allowing you to apply the mappings within this route to All or specific numbered routes to save time during the mapping process.

Save As on PDF Form routes
If at any point your mappings are incorrect, you can simply edit a single field mapping, or alternatively click the Delete PDF Mappings button to remove all of the mappings for this route to start again.
If you wish to change the PDF file applied to a particular route, click on the PDF Form filename link within the routes table for the route/file that you wish to change. This will display the PDF Form upload interface previously described. Uploading a new PDF Form will replace the selected PDF Form file with the new file being uploaded. If possible, mappings will be preserved during this process.
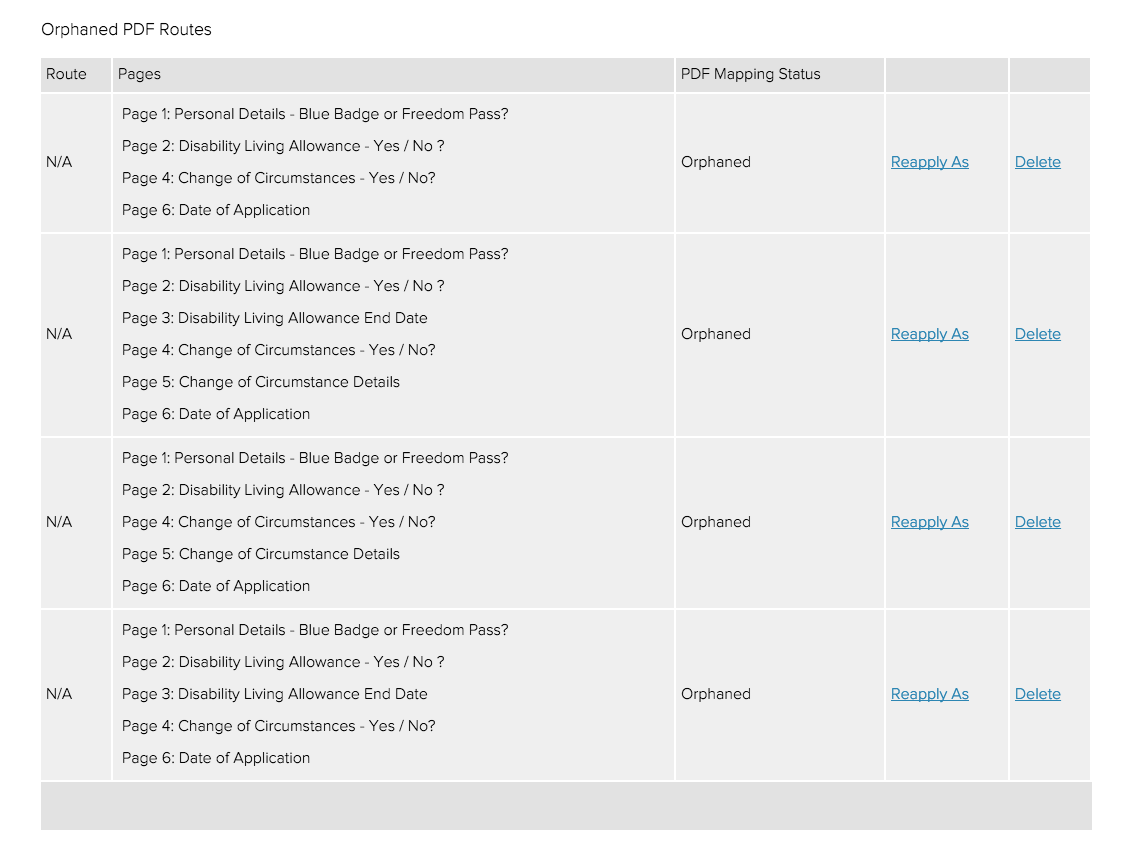
Orphaned PDF Routes list displayed under the normal route mapping list when applicable
Orphaned routes can appear when the form’s structure and therefore associated routes have changed after PDF mappings have been applied. Rather than lose previous mappings, Jadu XFP provides a list of orphaned routes in order to recover any previous mappings.
Orphaned mapping routes will appear in a table at the bottom of the PDF Generation area. You can Reapply As or Delete an orphaned route’s mappings. Choosing the Reapply As option will take the mappings saved in the orphaned route and attempt to apply them to a current chosen route. The orphaned route is then removed from the system. Alternatively, you can choose to Delete the orphaned route without reapplying the mappings to another route.