File Output
The File Output action creates a data file of the user’s form data and passes it to a Connector which then transports it to another location/database (that you configure) for further processing. Data can be manipulated before transportation and you can choose which form fields are included in the output. This action has no output shown to the end user.
Before you can use a File Output action you need to set up an appropriate Connector. Once a new connector is made available, form designers can then apply this to the File Output Action.
To assign the Connector to a form, select the form that you wish to add a File Output Action to from the Forms list page. Select the Actions tab for this form. To enable the File Output Action, select the File Output checkbox under the Actions heading.
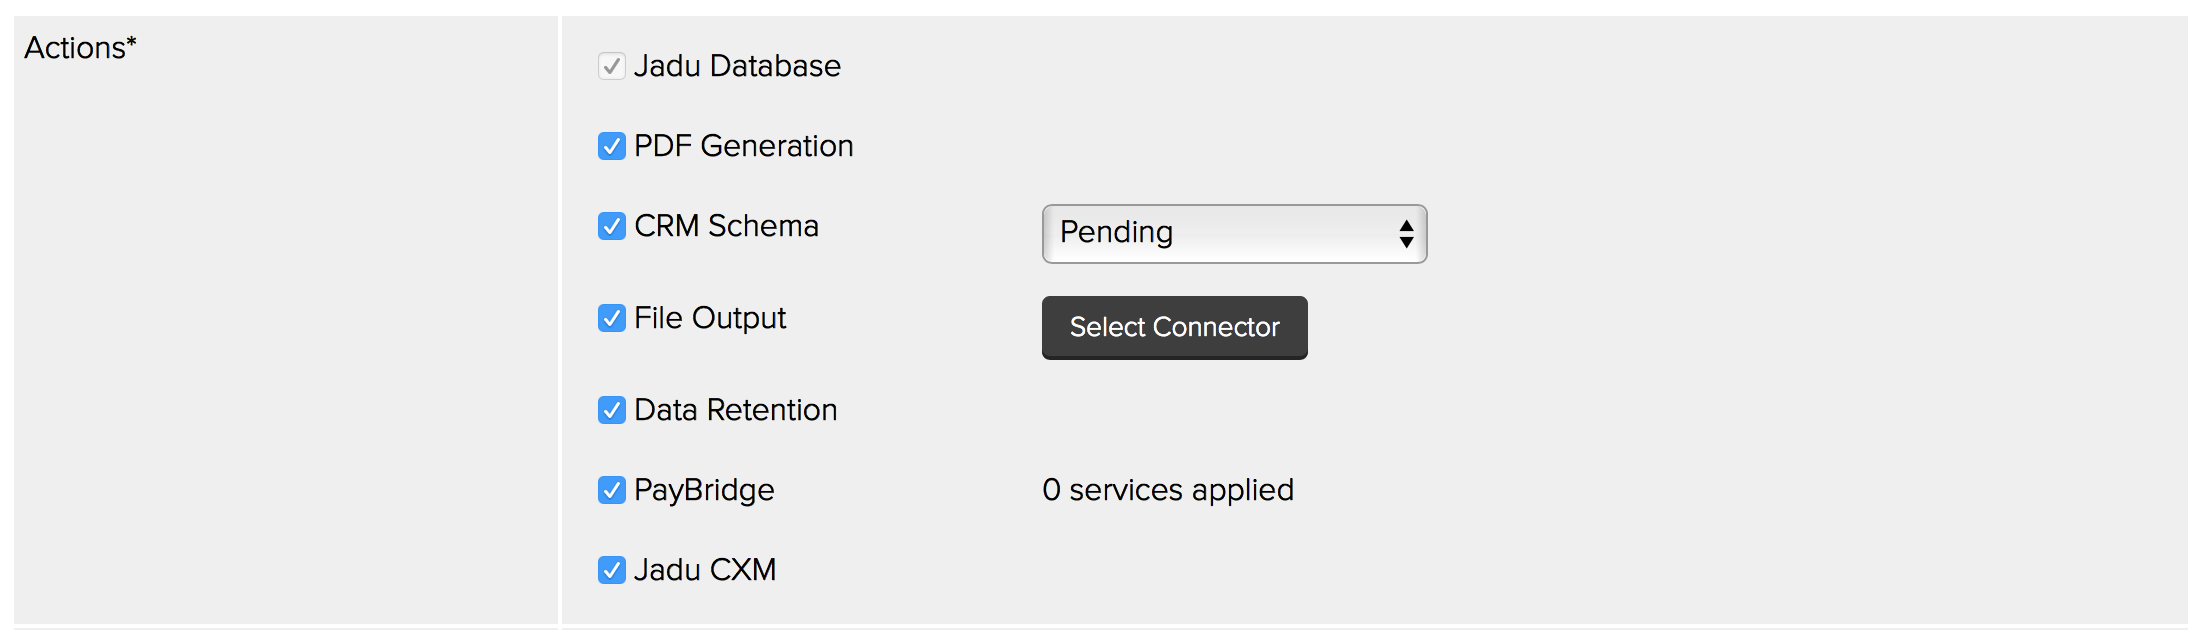
Enable the File Output action
Click on the Select Connector button to load up the Select Connector lightbox. The Select Connector lightbox searches as you type (from three characters onwards). You can either browse though available connectors or if you know the specific connector you require you can search for it using the search box provided.

Search for an existing Connector
Choose the appropriate Connector from the returned results list by clicking the Select button.

File Output Connector selection complete, here showing ‘Local Dropbox’
The Connector is now assigned to the form. Save the newly created Action by clicking on the Save Actions button at the bottom of the Actions area. A new File Output tab will appear.

New File Output tab
Before you can use the File Output Action, you need to specify which questions are to be included within the data file, and in what format the data file should be sent. Clicking the File Output tab displays the File Output interface.
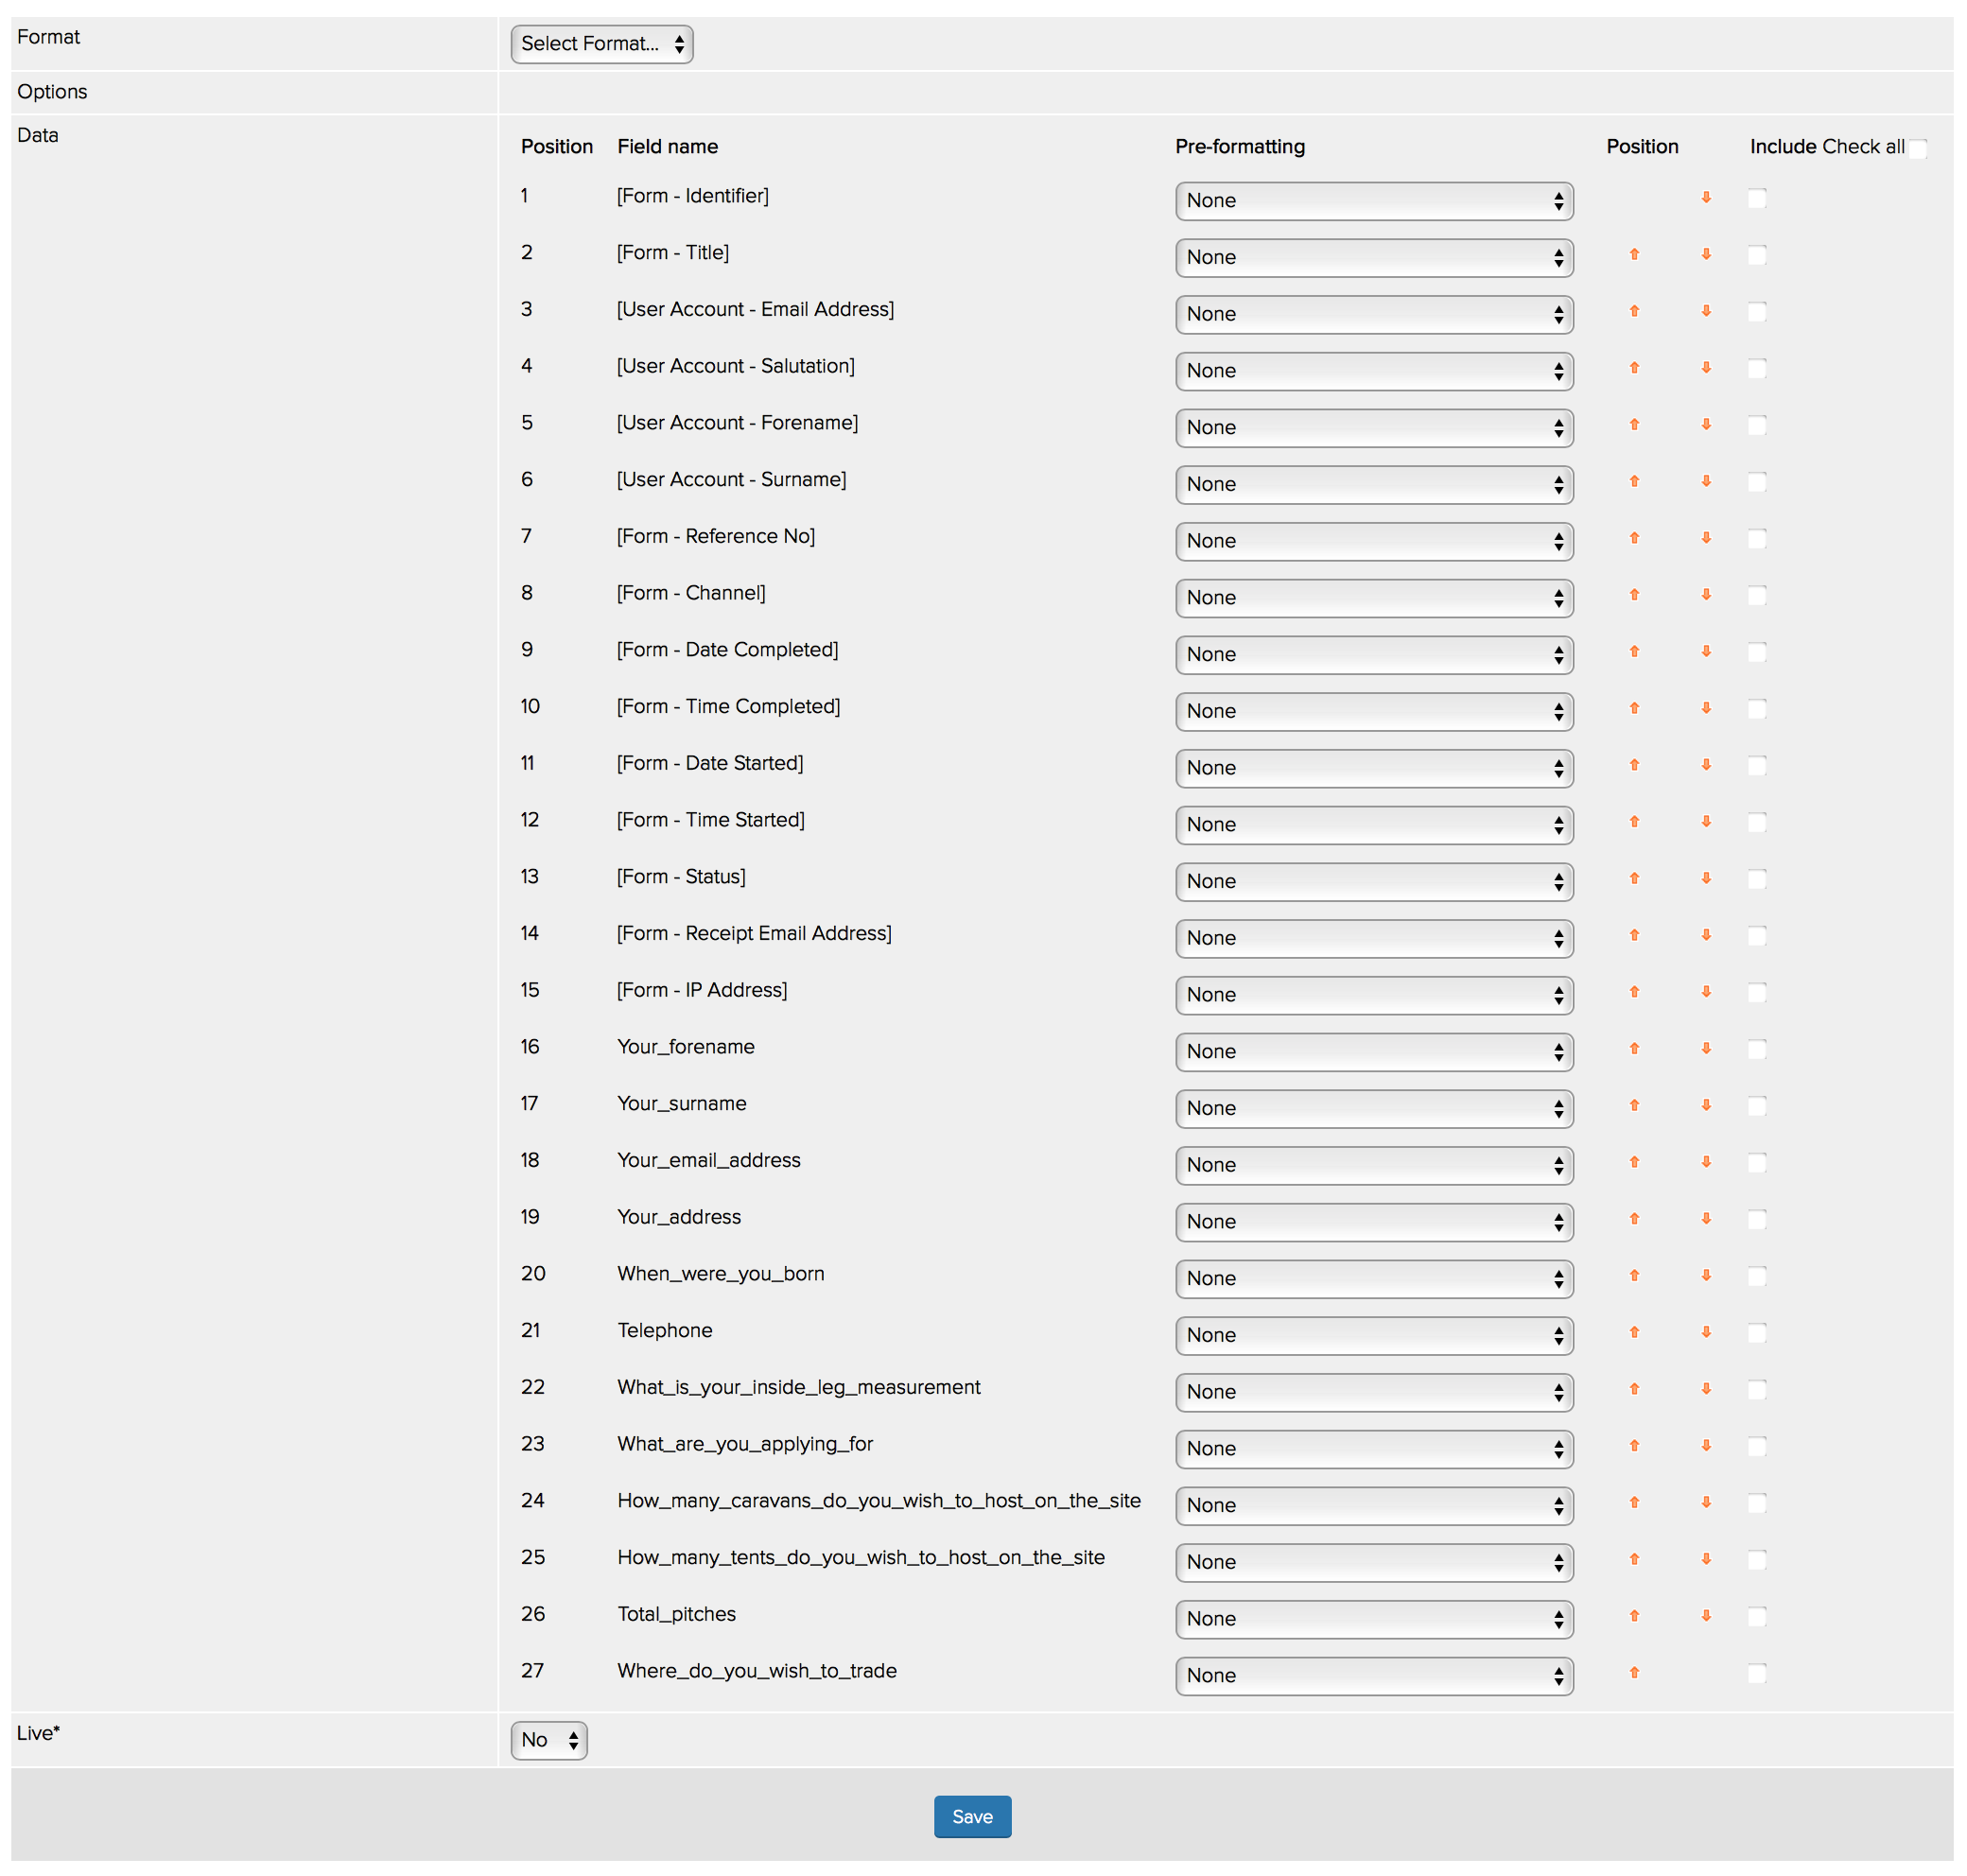
Setting up new File Output settings
First, select a Format for the output to be generated within. The available options are CSV and XML.
CSV output format

CSV File Output options
After selecting CSV Format option, you can set up some basic options for how you wish the CSV file to be structured.
- CSV Header: If checked, the CSV file will contain the field names above relevant columns within the first row of the data file.
- Field Terminator: A single character used to separate fields. Defaults to comma (,).
- Line Terminator: Choose a line ending type, from DOS/Windows (\r\n), UNIX/Linux (\n) and Macintosh (\r). Defaults to use the DOS/Windows option.
XML output format
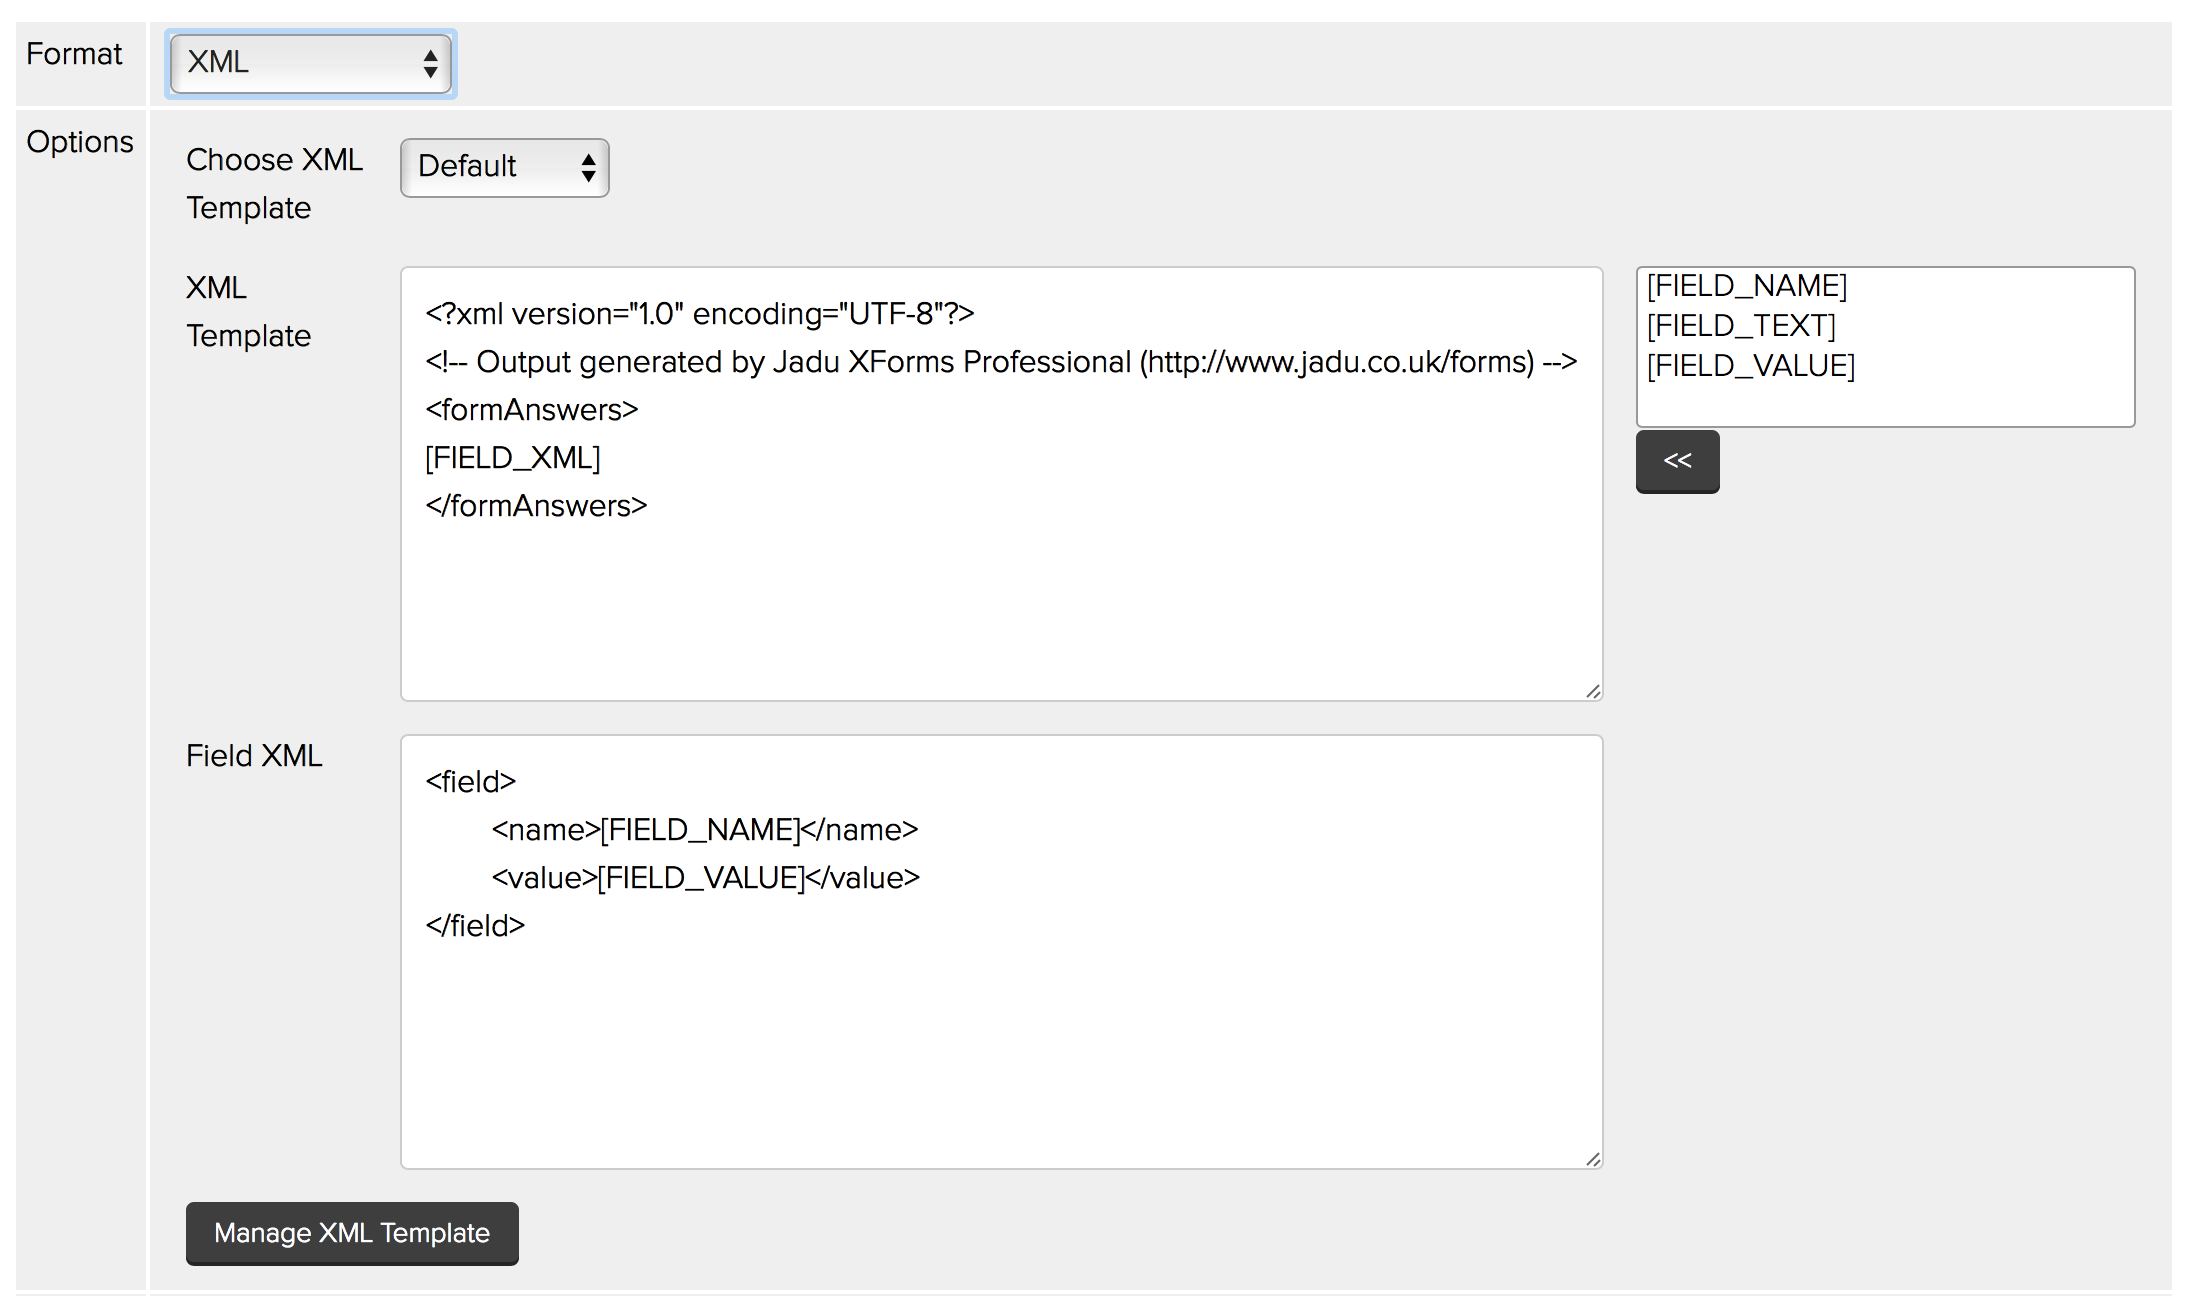
XML File Output options
The XML Format option allows you to use a standardized key/value pair structure or specify a custom XML output structure per form as necessary.
Note: The principles of working with XML data is beyond the scope of this document and a basic understanding of markup structure is required for the following section of this document. First, you must choose an XML template. Options available are:
- Current: This template option is the current XML assigned to the File Output.
- Default: Jadu's default out of the box XML Key/Value pair structure.
- Advanced: A blank canvas for creating your own custom XML structure.
In XML Format mode, three placeholders exist for use within your XML. The placeholders are replaced when the output file is generated.
- [FIELD_NAME] = the name of the question or variable.
- [FIELD_TEXT] = the question text or variable name.
- [FIELD_VALUE] = the question answer or variable value.
When creating custom XML, you will need to create an XML template. The template is used to create the outputted XML structure. The default XML template is:
<?xml version="1.0" encoding="UTF-8"?>
<!-- Output generated by Jadu XFP (http://www.jadu.co.uk/forms) -->
<formAnswers>
    [FIELD_XML]
</formAnswers>
The [FIELD_XML] placeholder is replaced by the XML generated from the Field XML option configuration.
The Field XML specifies the output for any single field that is to be included within the data file. It is then inserted into the XML Template when generating the output file.
<field>
    <name>[FIELD_NAME]</name>
    <value>[FIELD_VALUE]</value>
</field>
When output is generated, the XML will be output similar to that shown below if using the Default XML structure:
<?xml version="1.0" encoding="UTF-8"?>
<!-- Output generated by Jadu XFP (http://www.jadu.co.uk/forms) -->
<formAnswers>
    <field>
        <name>Form - Identifier</name>
        <value>1</value>
    </field>
    <field>
        <name>Form - Title</name>
        <value>Sample XForm</value>
    </field>
    <field>
        <name>Form - Reference Number</name>
        <value>123</value>
    </field>
    <field>
        <name>Surname</name>
        <value>Bloggs</value>
    </field>
    <field>
        <name>Forename</name>
        <value>Joe</value>
    </field>
</formAnswers>
Managing XML Templates
It is possible to save and reuse XML templates. To save custom XML, after creating the XML template and Field XML, click the Manage XML Template button. This will prompt you to provide a Template Title, after which you should click Ok.
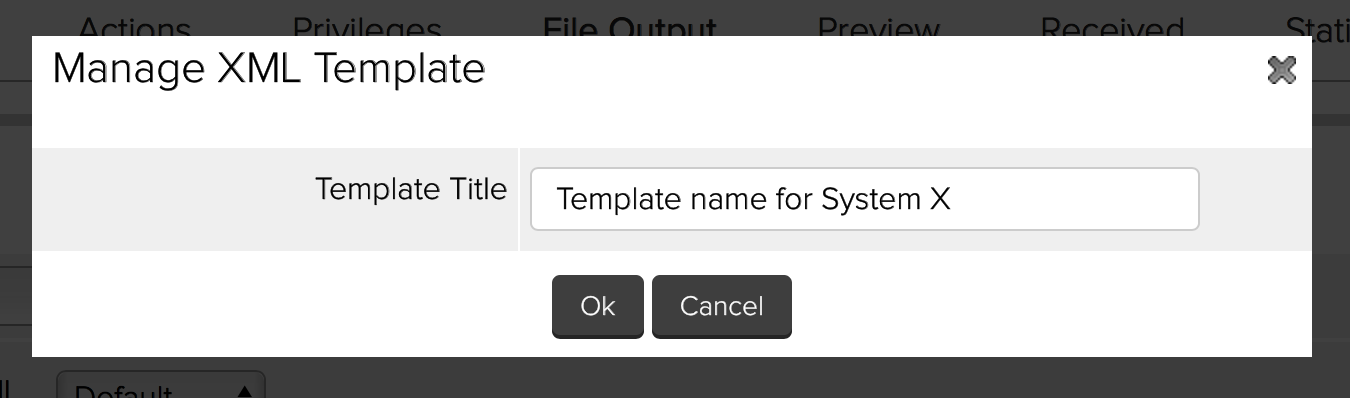
Providing an XML File Output Template name
The template has now been saved and will be available for use with other forms when setting up further File Output actions.
You can manage existing templates by selecting them from the Choose XML Template list and clicking the Manage XML Template button. The interface is slightly different; here you will be able to Update the template title or Delete the XML template.
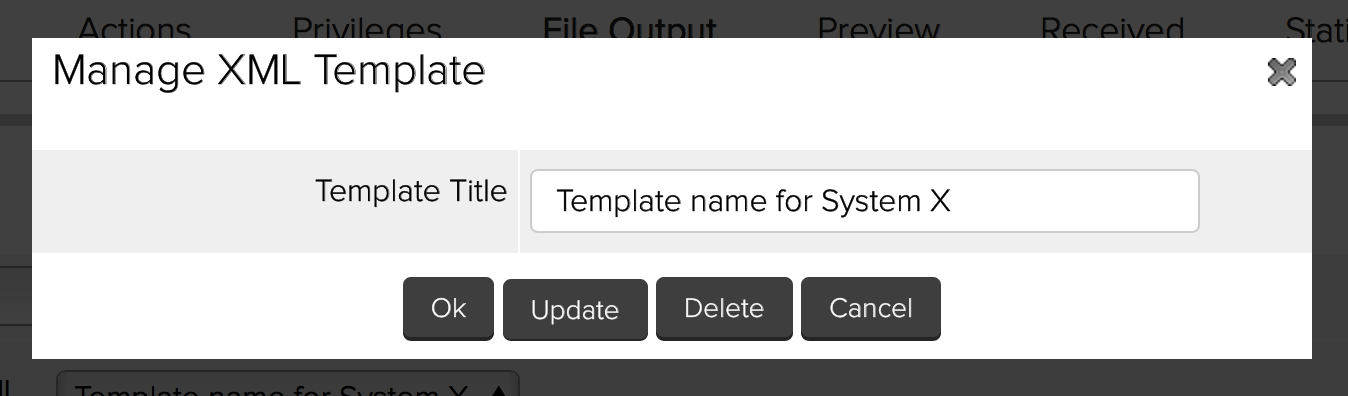
Updating an existing XML File Output Template
When you use saved XML on a form, the saved XML is copied to the form properties. Deleting or updating an existing template will therefore have no impact upon existing forms using that template.
Formatting an output field
It is possible to do some basic formatting of the output value for a field if necessary. For example, an external system may expect a date question response in MM/DD/YYYY format but the answer is supplied in DD/MM/YYYY. Using the built in tools you can manipulate the answer to the required format.
To select the format you require outputting for a given field, tick the corresponding checkbox for that field. You can use the arrow buttons to reorder the output if necessary and also assign a formatting function on the data. Formatting options include:
- Upper Case All: All characters in the user response are converted to upper case.
- Lower Case All: All characters in the user response are converted to lower case.
- Upper Case First Character Only: The first letter of the string is converted to upper case.
- Upper Case First Character Every Word: The first letter of every word in the user response is converted to upper case.
- Reverse: The user’s response is reversed in order.
- Length: The length of the user’s response is output instead of the actual value.
- Date Format: Date formatting is only available to text fields which validate against the date validation routine. Choosing this option, you can reformat the user input into a different format as you require, e.g. the user may be adding a date entry in the format DD/MM/YYYY, but you may wish to receive it as YYYY/MM/DD.

Setting a specific date pre-formating rule for text fields with Date validation applied
This formatting option uses the php date function. Formatting options can be found at http://uk2.php.net/manual/en/function.date.php under the parameter format.
- Remove Non-alphanumeric: All non alphanumeric characters are removed from the user’s response.
- Remove Non-alpha: All non alphabetic characters are removed from the user’s response.
- Remove Non-numeric: All non numeric characters are removed from the user’s response.
- Remove Whitespace: All whitespace is removed from the user’s response.
Note: If an incorrect format is applied, an error message will be displayed for the field in question and all the other fields will be unchecked. It will be necessary to recheck the required fields.
Once you are happy with your settings, use the Live dropdown to make the the File Output Action live and click the Save button. All submissions for this form from this point on shall generate and transmit the data file through the selected Connector.